***Disclosure: This post contains an Amazon affiliate link that at no additional cost to you, I may earn a small commission when you purchase through the link from my blog. Thank you for your support!
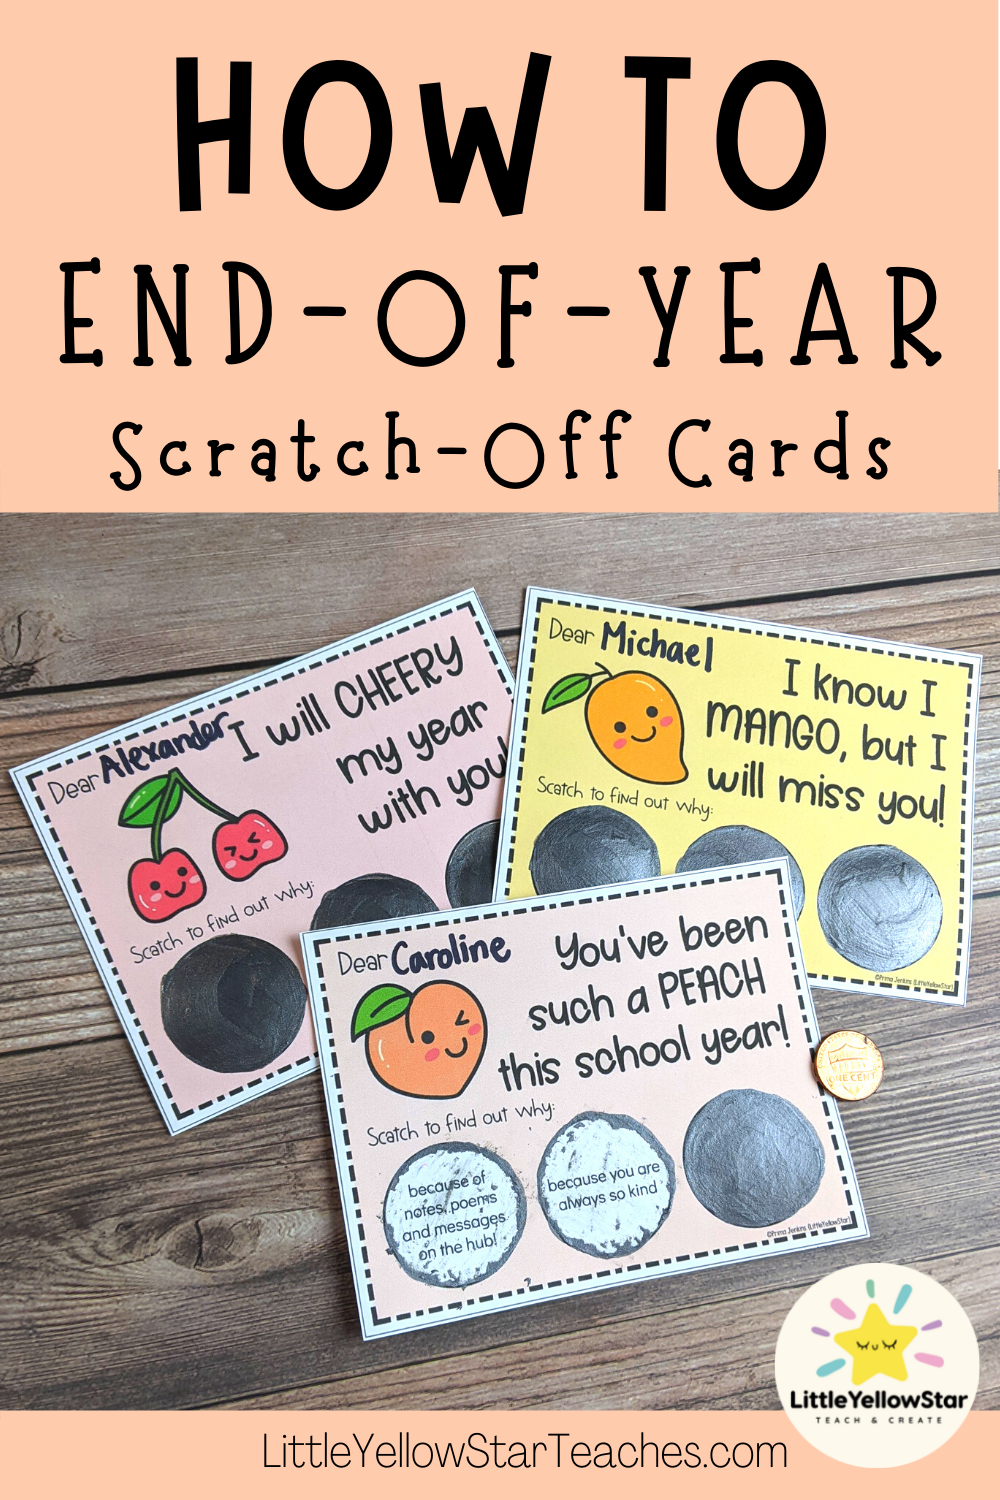
Scratch-Off Cards are so much fun!
First off, who doesn’t like a scratch-off card? We all want to know what is the hidden message underneath the scratch-off.
There are many ways that you can use scratch-off cards in your classroom.
You can create:
- Reward Cards
- Class Lottery Cards
- Hidden Message Cards
It’s so much fun for students!
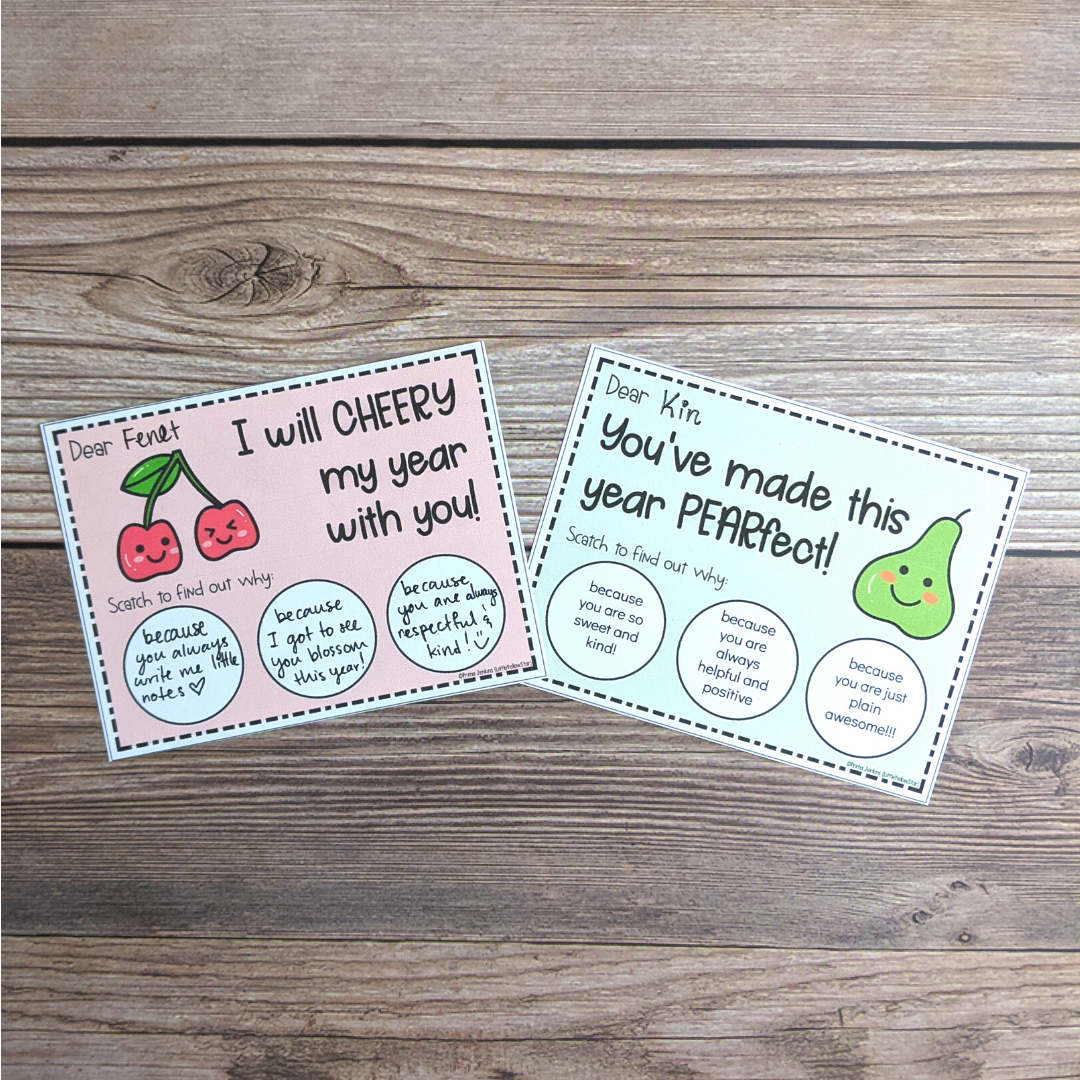
In this post, I will walk you through how to make Scratch Off Cards for your students as an End-Of-Year student gift.
I like to add this to my End-Of-Year Student Gift Bags. I think it’s such a cute way of letting the students know how much and why you will miss them when you say goodbye at the end of the school year.
Alright, here we go! First these are the materials that you will need:
*Disclosure: This post contains an Amazon affiliate link that at no additional cost to you, I may earn a small commission when you purchase through the link from my blog. Thank you for your support!
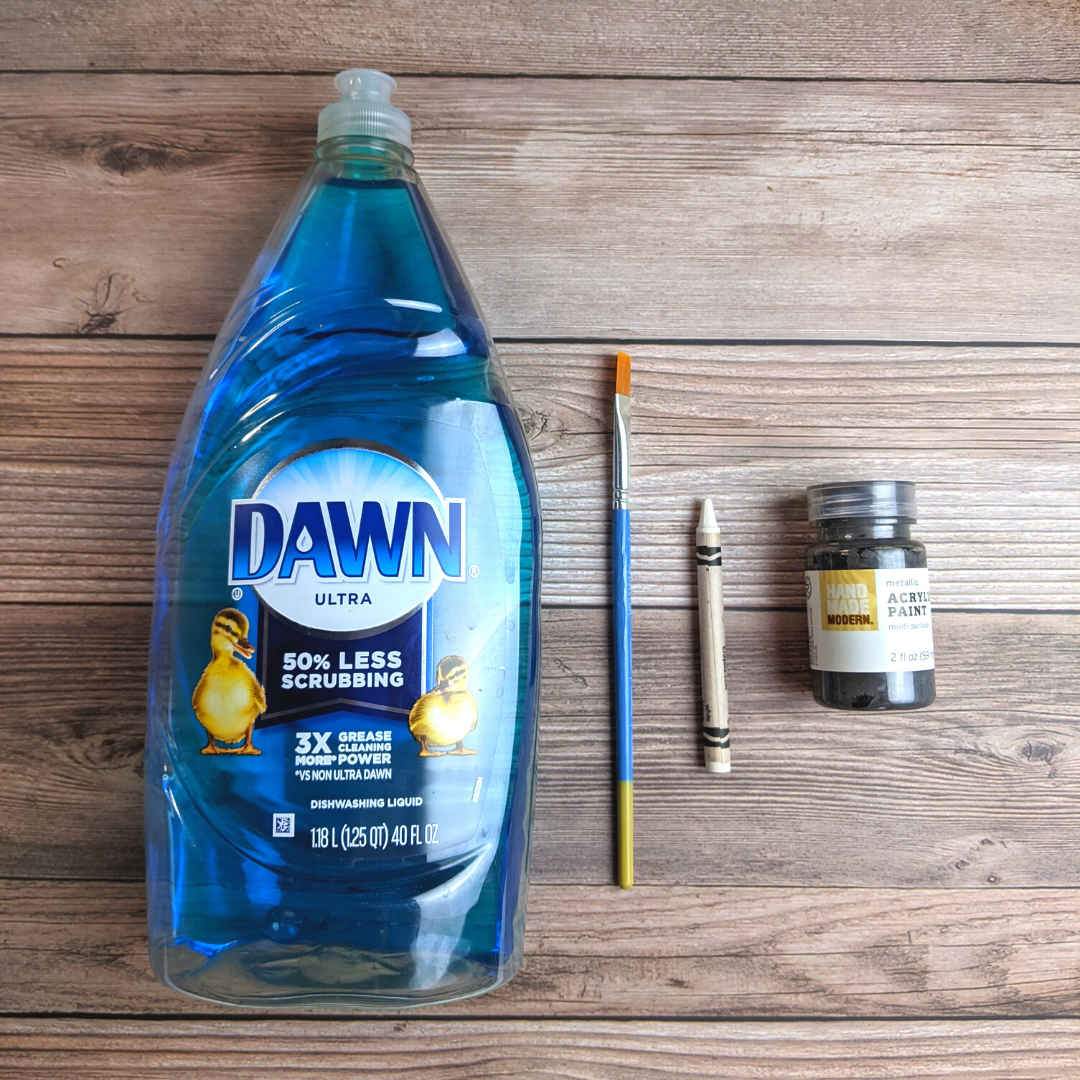
Materials:
- Acrylic paint of your choice (darker is better) – I use a Charcoal color.
- A Paint Brush
- Dish Soap
- White Crayon
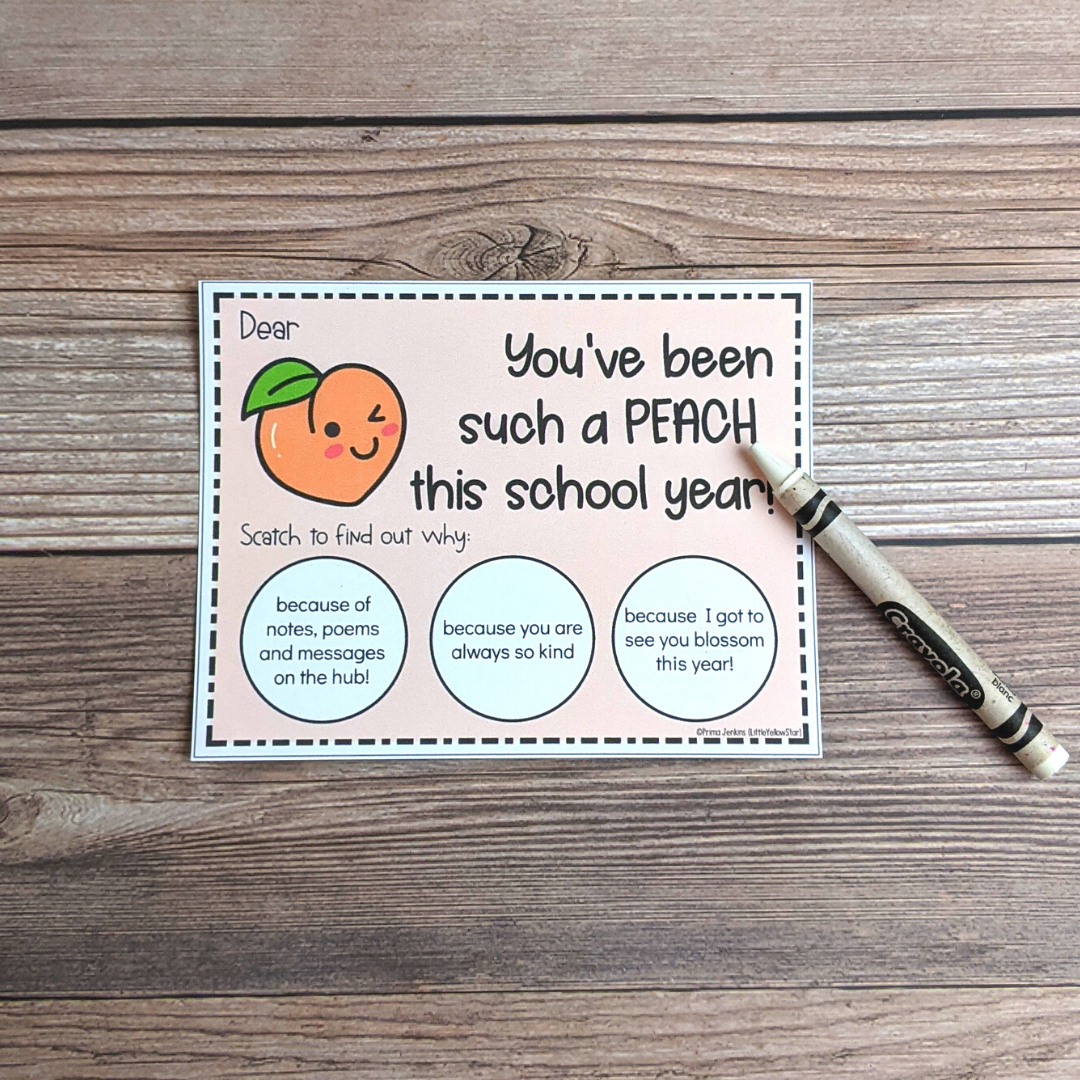
- Card Templates
You can create your own card templates using PowerPoint or Google Slides.
I am using my Fruit Pun templates from my TPT store.

Grab these free resources to make your teaching life easier!

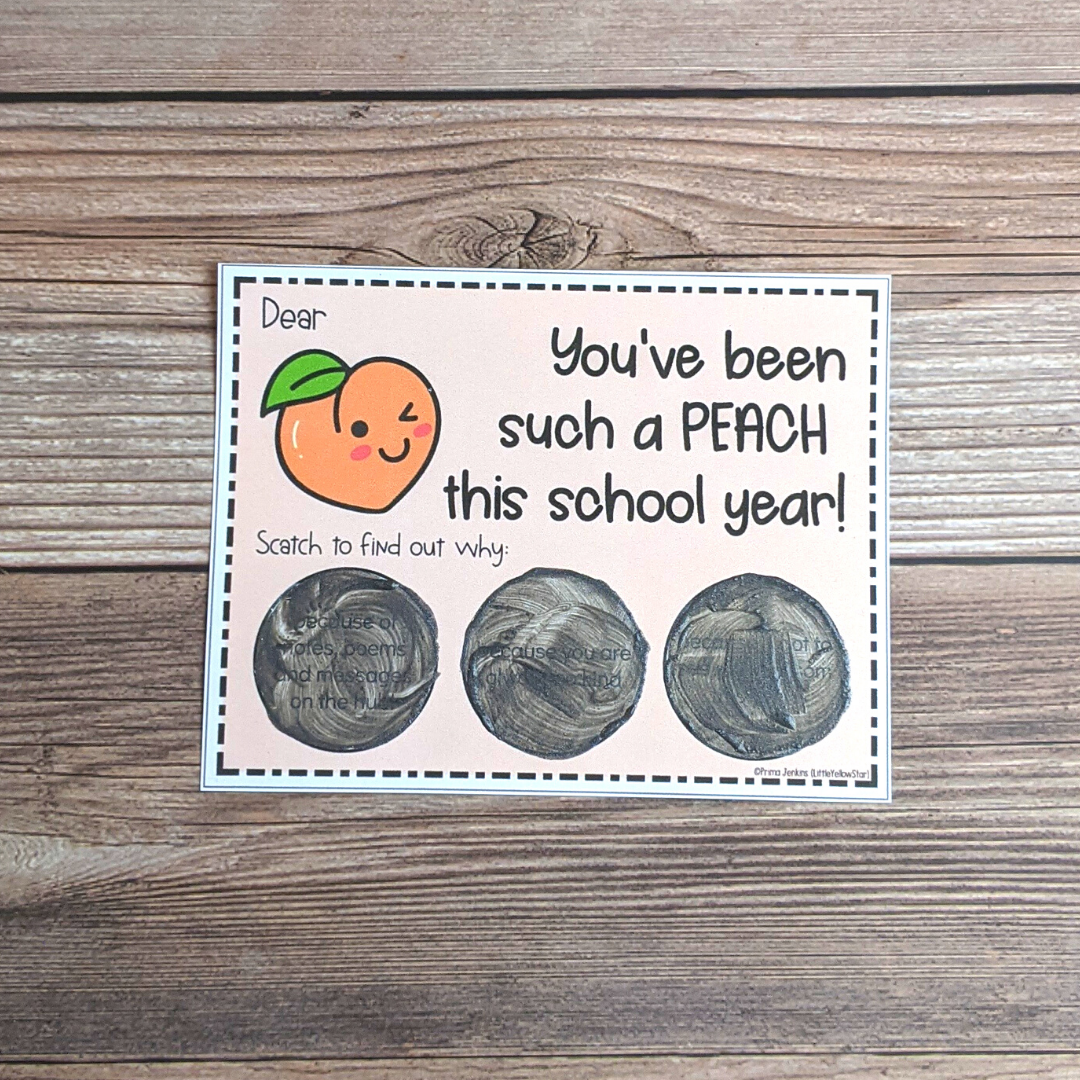
Step 1: Make The Paint
Mix the acrylic paint with the dish soap. You need 2 parts paint and 1 part soap. I typically do 1 teaspoon of paint and half a teaspoon of soap.
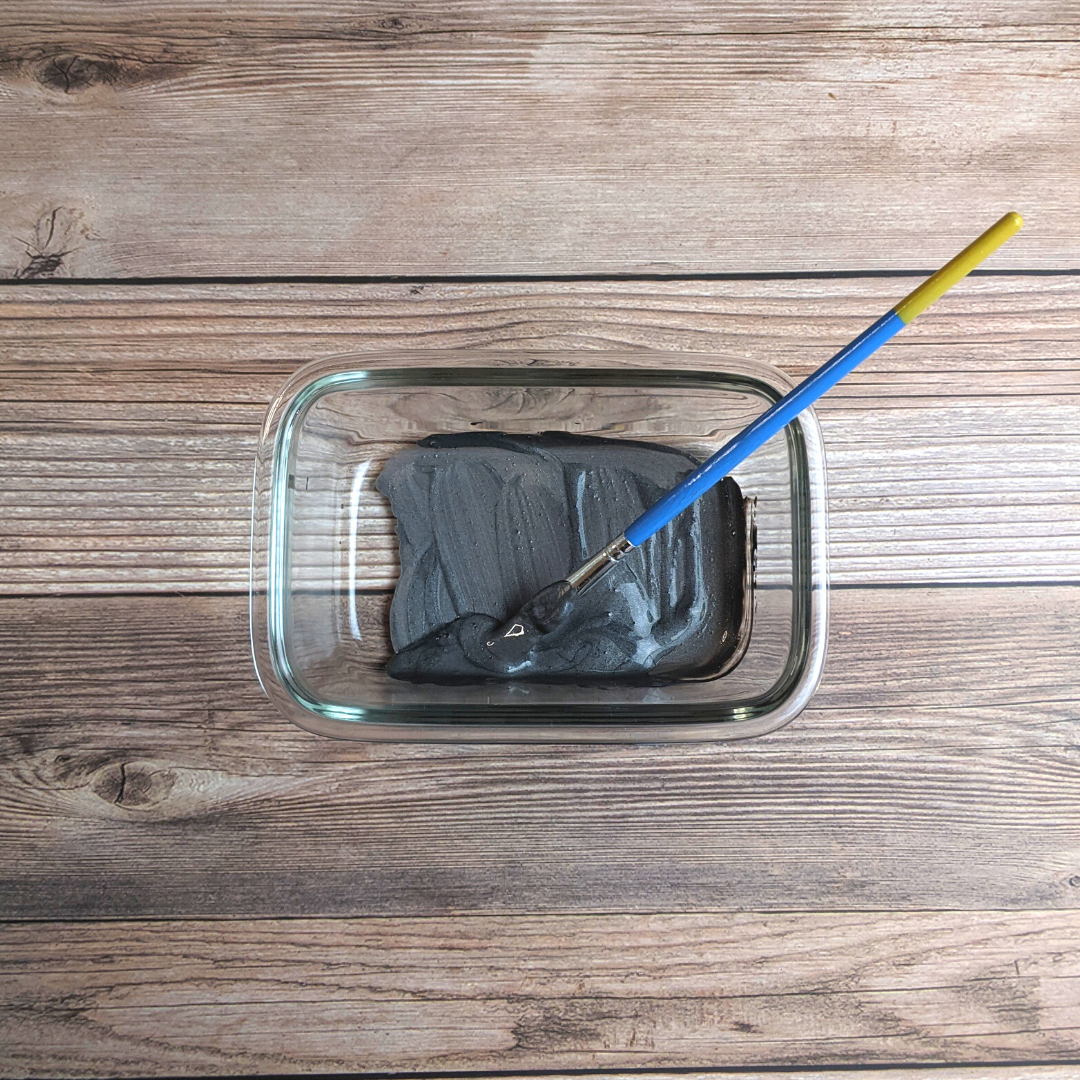
It’ll look watery, and that’s perfect!

Step 2: Prepare the Cards
Prepare the cards! You can print out the messages or write them straight down onto the cards.
Step 3: Create A Waxy Barrier
Color in the messages with a white crayon. The wax from the crayon will help separate your messages from the paint and protect them during the scratching. This is probably the most important step! So, color away!
Step 4: Hide Your Messages
Paint over your messages with the paint mix you created earlier. If you use a darker color, you will have to do at least 2 layers of paint to fully hide your messages. If you are using a lighter color, you will typically need to do 3 to 4 layers.
Now, all you have to do is just wait for it to dry!
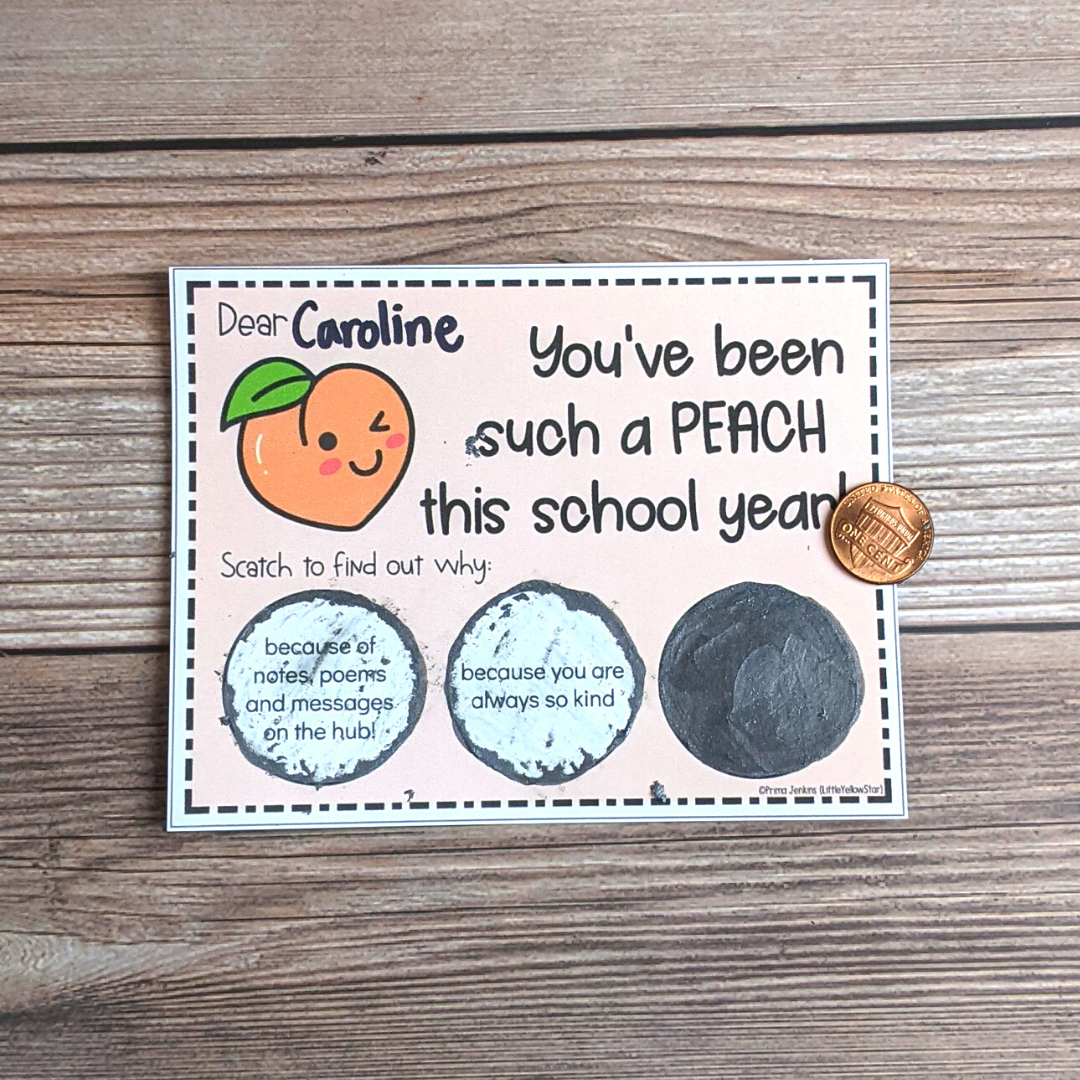
Viola! You now have scratch off cards that your students will love!
It’s so easy and you can make a bunch in such a short time! Add this to your Student Gift Bags or use give them out the last week of school.
Let me know how you plan on using Scratch-Off Cards in your classroom. 🙂
Prima from LittleYellowStar
* * *