***Disclosure: This post contains an Amazon affiliate link that at no additional cost to you, I may earn a small commission when you purchase through the link from my blog. Thank you for your support!
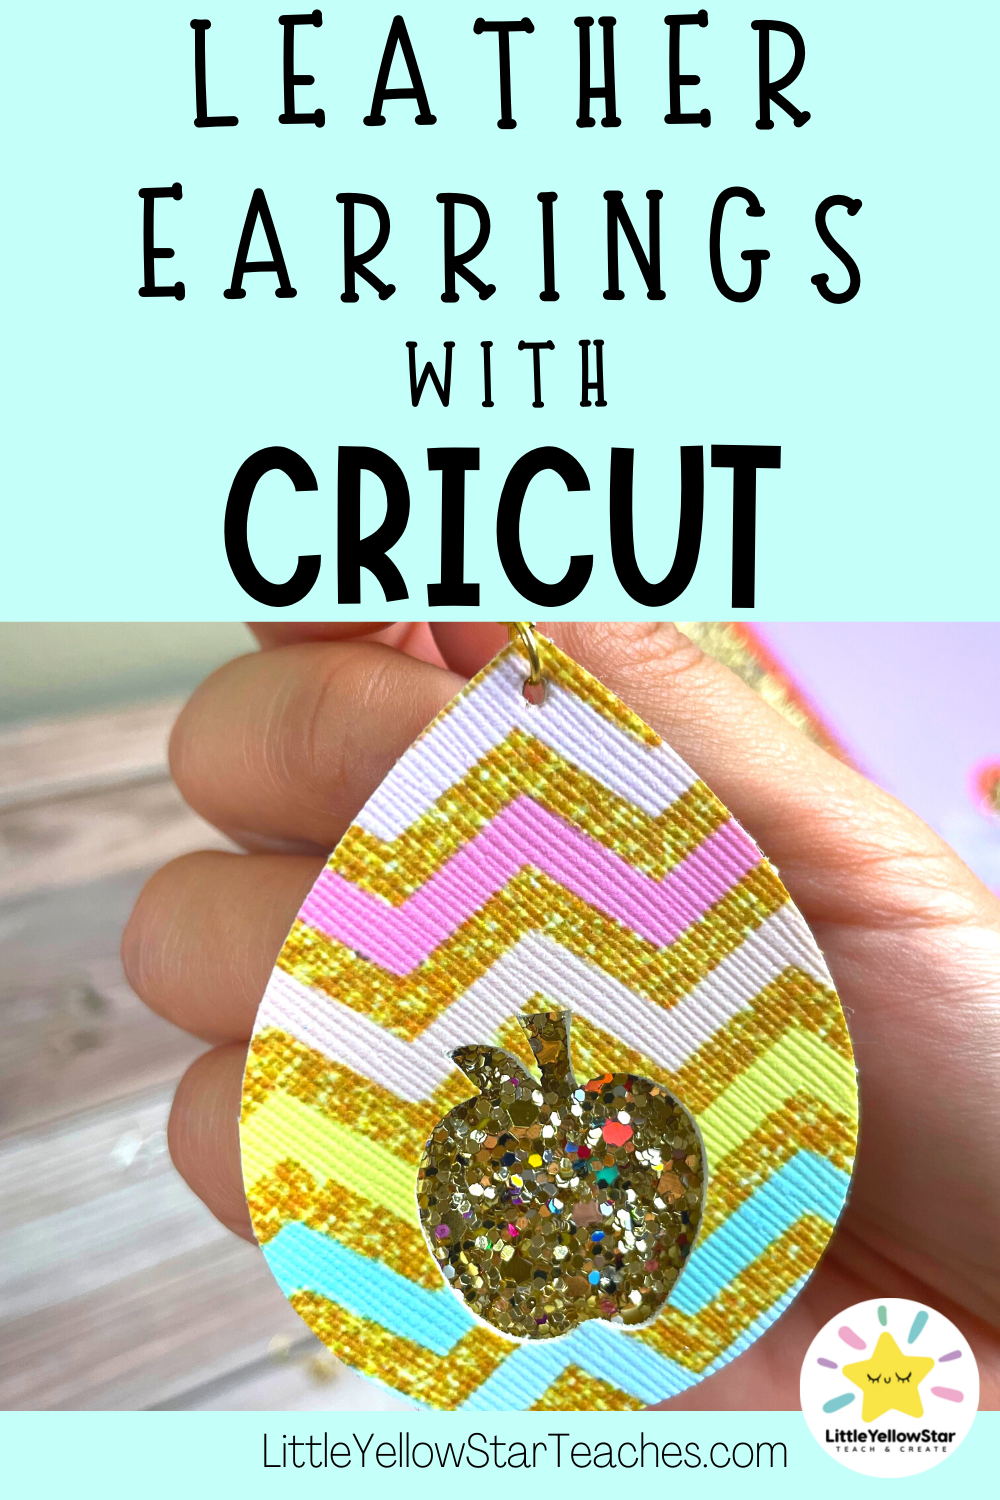
Hello Cricut Friend! If you are interested in making leather earrings with Cricut, you are in the right place. In this blog post, I will be walking you through how you can do that, along with some tips and tricks that I’d learned from my earring making journey! (Is that a thing?)
I joined the Cricut family this summer because I wanted to create all these cool amazing things I see online, especially earrings! I’ve been having a thing with leather earrings and I was making them without a Cricut machine for a while. However, I just wasn’t able to cut the intricate design that I designed on Adobe Illustrator. So when I saw a posting on Facebook marketplace for a used one, I pulled the plug and bought it!
If you want to learn more about how to make faux leather earrings without a Cricut Machine, click here!

Grab these free resources to make your teaching life easier!

I even got a TikTok account to document what I’ll be making, so if 2020 got you into TikTok (It got me!), follow me @littleyellowstar.
I’ve been creating a lot and I experimented with different tools along the way.
Finding the perfect faux leather for Cricut earrings was the most difficult! I also tried using different mats and Cricut knives, because I was determined to get the result that I wanted.
I hope to show you how easy it is to make leather earrings with Cricut once you have the right tools. I would love to see your creations once you start making them! Tag me on Instagram (@littleyellowstarcreates) or TikTok (@littleyellowstar) so I can like and comment!
Alright! Without further ado, here we go!


How To Make Leather Earrings with Cricut
#1: Set up your design!
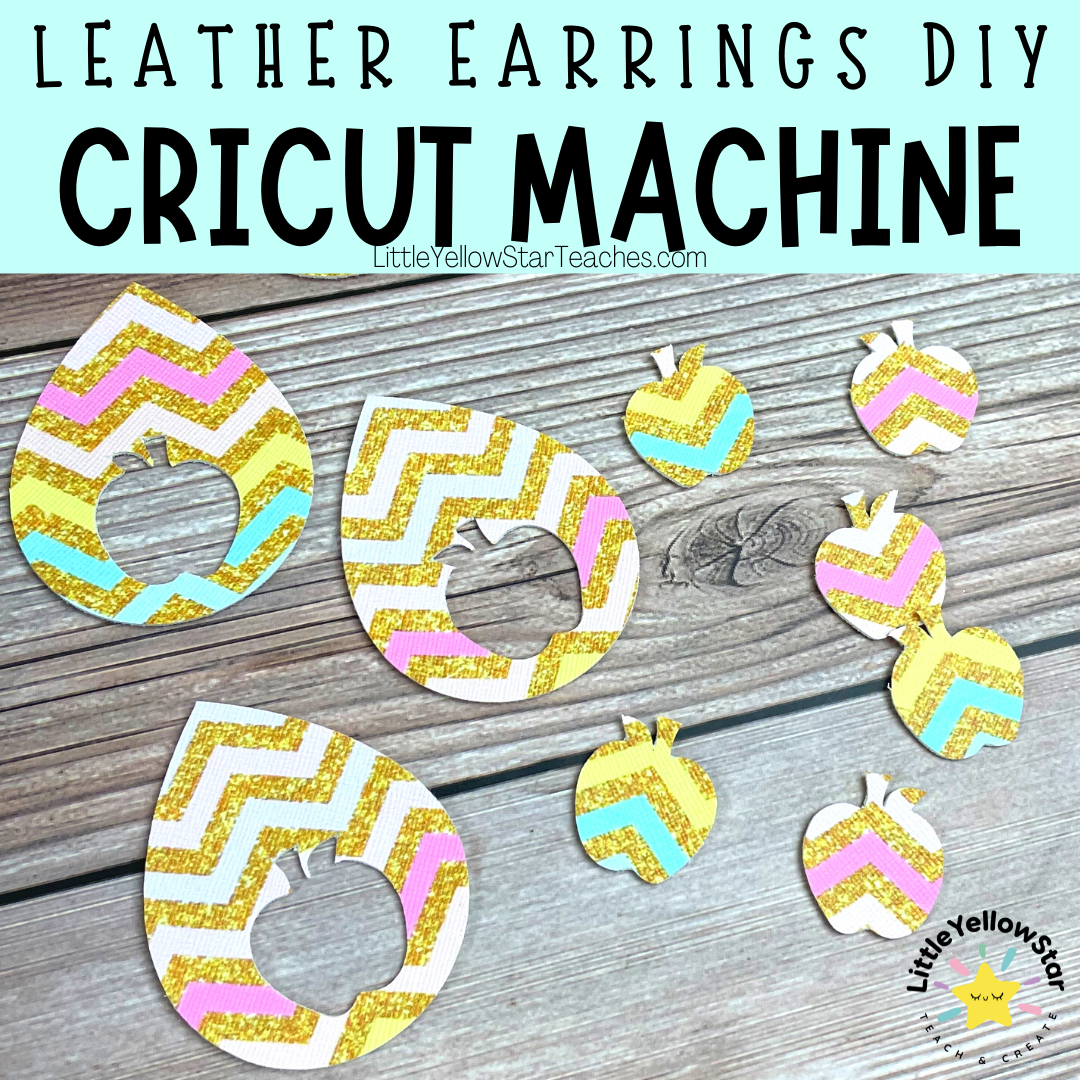
For the purpose of this how to, I will use my Back to School Earring Templates as my design.
You need to pick your earring design that you want to create. You can find these designs for free online by searching through Google, buy them on Etsy or Design bundle. I also have an Etsy shop that I upload designs I created. If you have a Cricut membership, then you can also find it there as well.
To Note: You can use earring templates with holes already added into the design. Personally, I do not recommend this. Cricut doesn’t do a good job at cutting out the holes and you could easily ruin a good piece by that. It’s best to cut the holes out later.
Keep in mind that there are 2 types of file to use: SVG and PNG. I’ll talk more about them in just a moment.
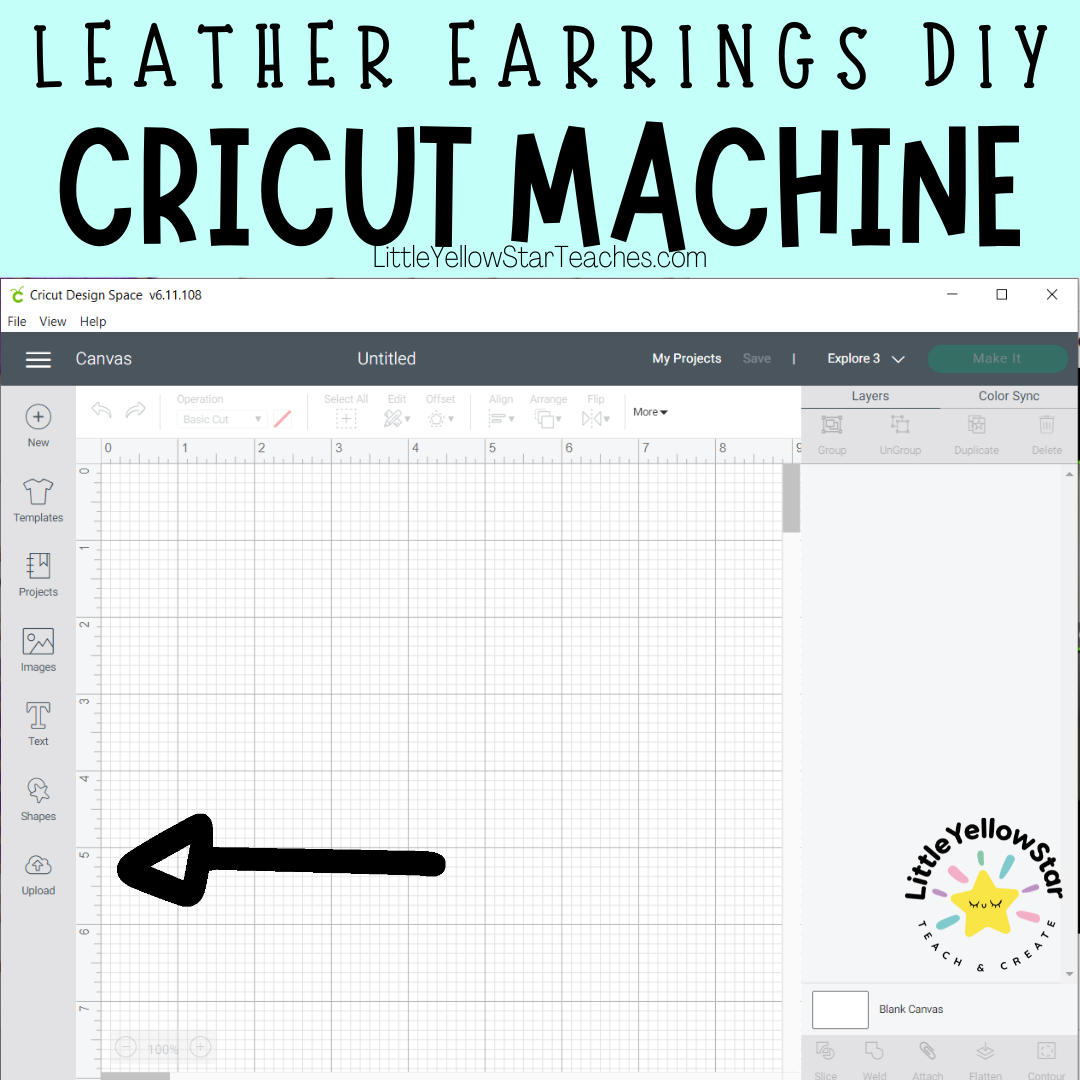
Once you have your design, open up Design Space and start a “New Project.”
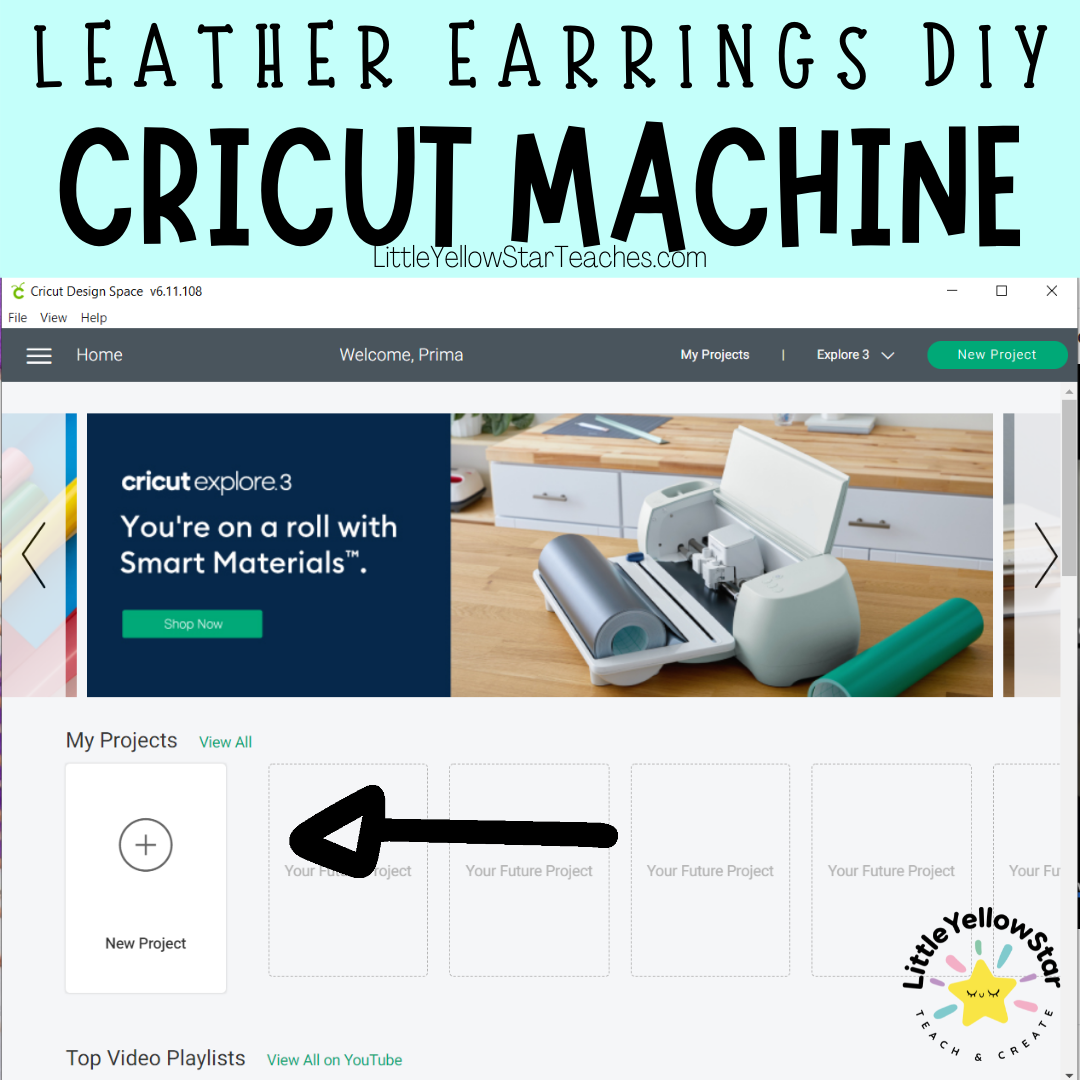
Now click “Upload” to get your design onto the canvas.
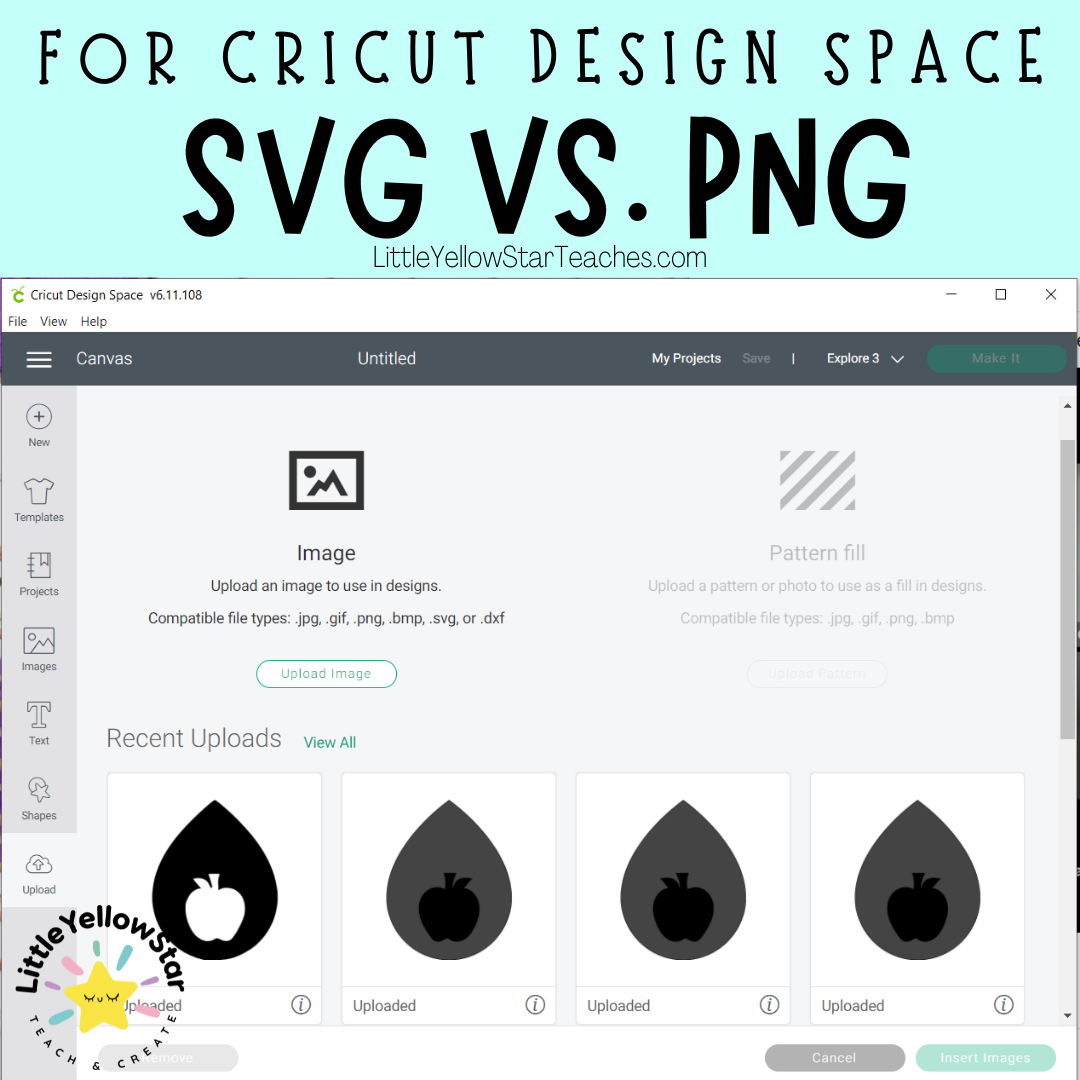
Alright! Let’s talk file types: SVG vs. PNG
What is an SVG file?
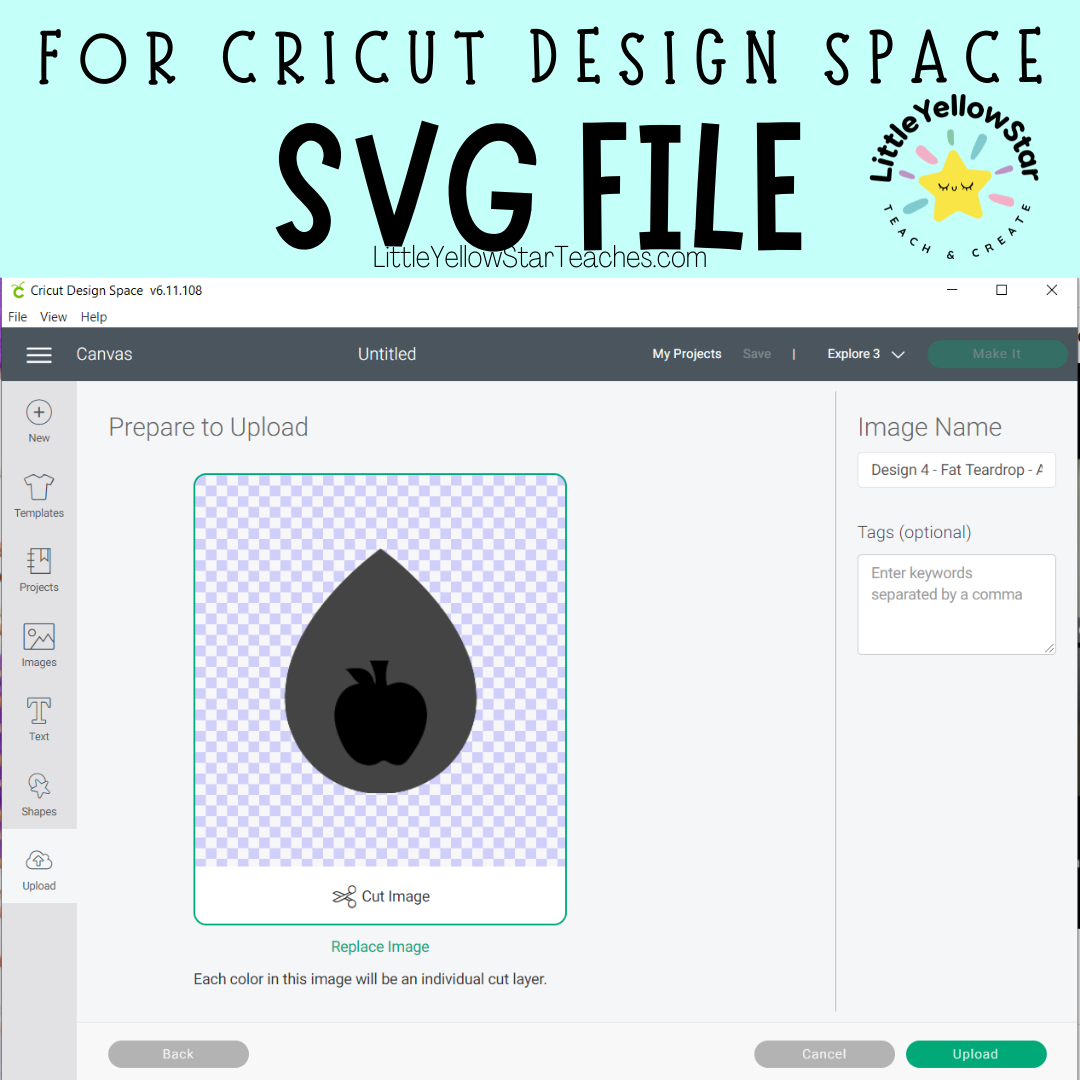
SVG stands for scalable vector graphic, which allows the creator to keep a lot of important components on the file.
For Cricut users, SVG files will allow you to upload 1 file and multiple layers and cut them in separate layers.
If the SVG file that you uploaded comes in different colors for each layer then you are golden. For example, in the picture above, my Apple Fat Teardrop file has 2 layers and each layer already has a different color. This signals to Cricut that the layers should be cut separately.
If your SVG file comes in all black with different layers, then you have to change the color of each layer to separate them. The colors won’t show up when you go into cutting mode. They are just to let your Cricut know that items are in different layers.
What is a PNG file?
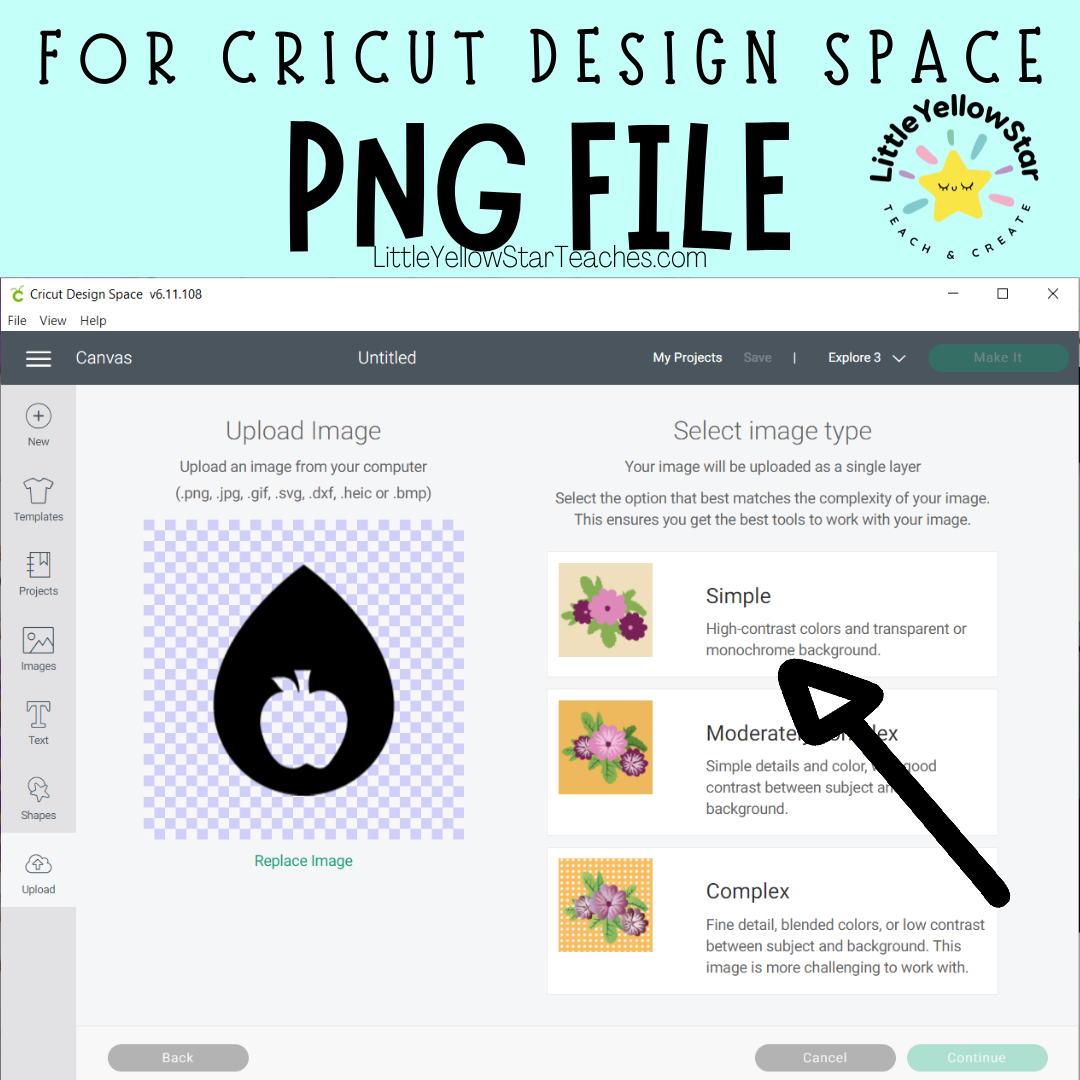
PNG stands for portable graphics format. It is a great image file, however in the Cricut world, PNG files will upload as 1 layer only, even if the file contains different colors indicating different layers. You will have to upload the different layers separately.
Once uploaded, it is best that you select “Simple” as your image type. This will ensure that the image will be cut sharply and precisely.
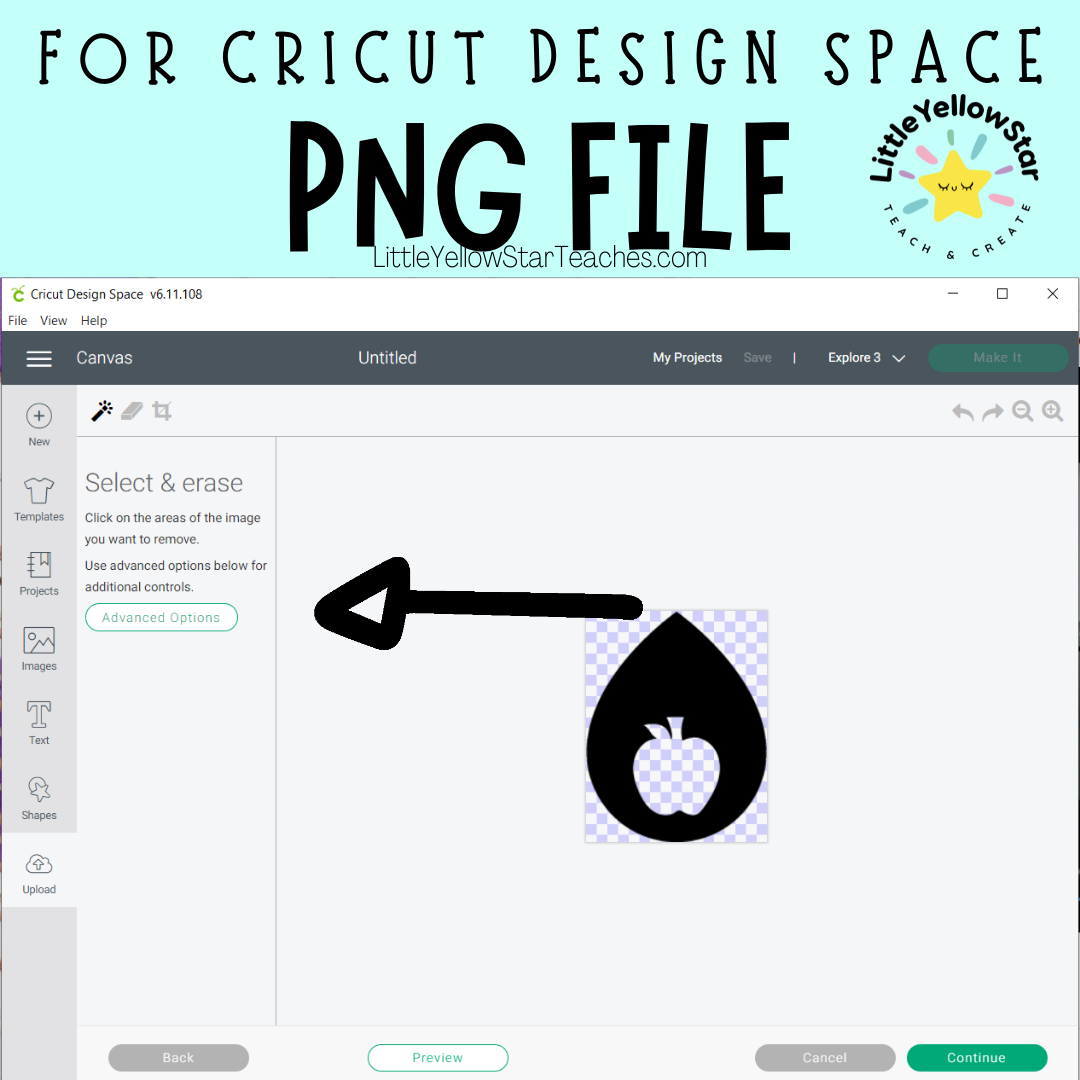
If you need to edit your image further, you can select it with the magic wand at the top or click on advanced options.
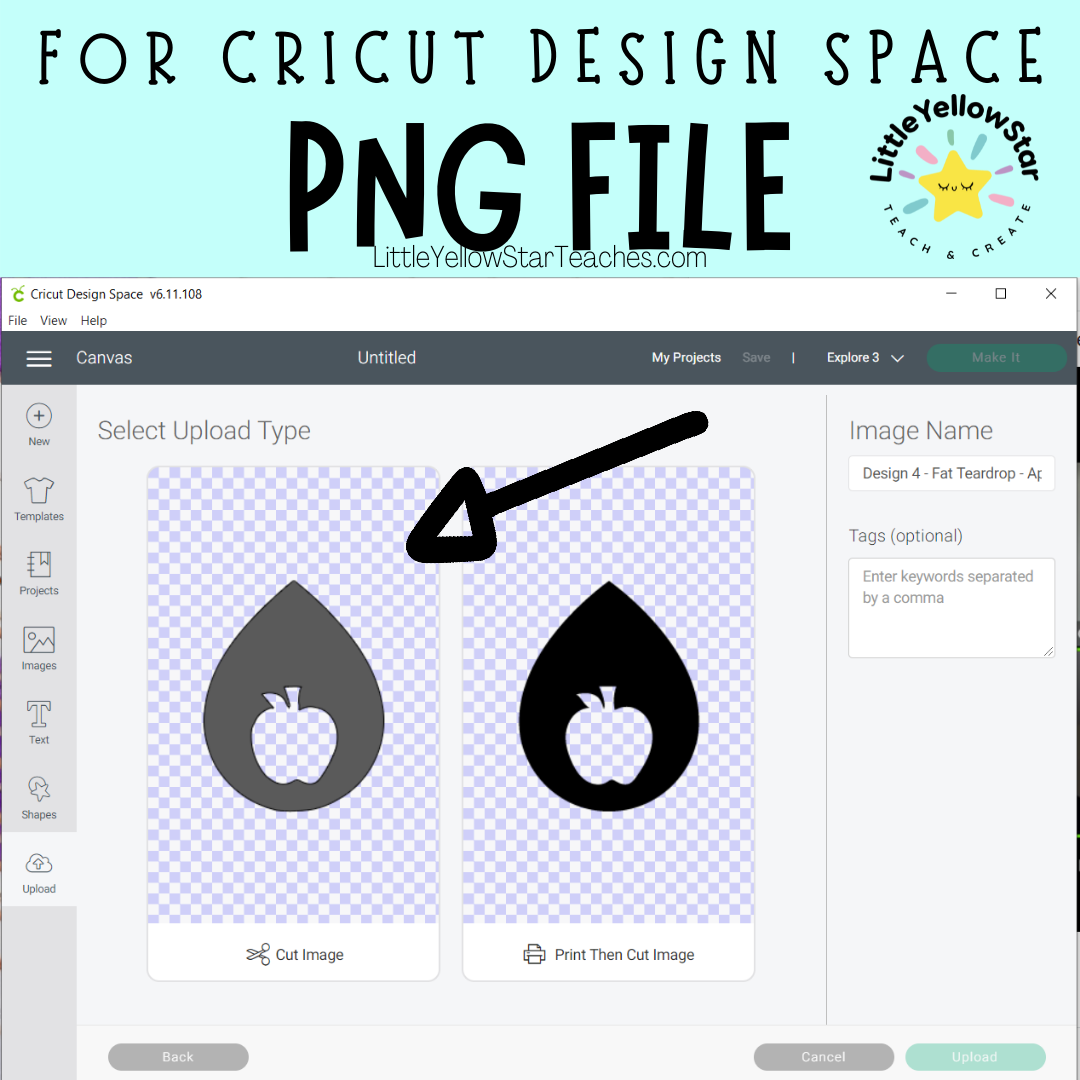
Then you have to make the selection if this image is for “Cutting” only or do you have to “Print first Then Cut.” This will come in handy for projects like making stickers. PNG can be great for other Cricut projects but not so much for Faux Leather Earrings.
Which file to use?
SVG. At the end of the day, SVG files are just way more convenient, especially if you have different layers for your earrings.

Setting Up Design Space:
Once you have your design uploaded on Design Space, modify it to your liking, and copy and paste to the amount that you desire to make.
Tips: I always resize my Fat Teardrop earrings to 2.5in and keep my Regular Teardrop earrings at 3in. Those are the sizes that make beautiful earrings that are not too small or too big.
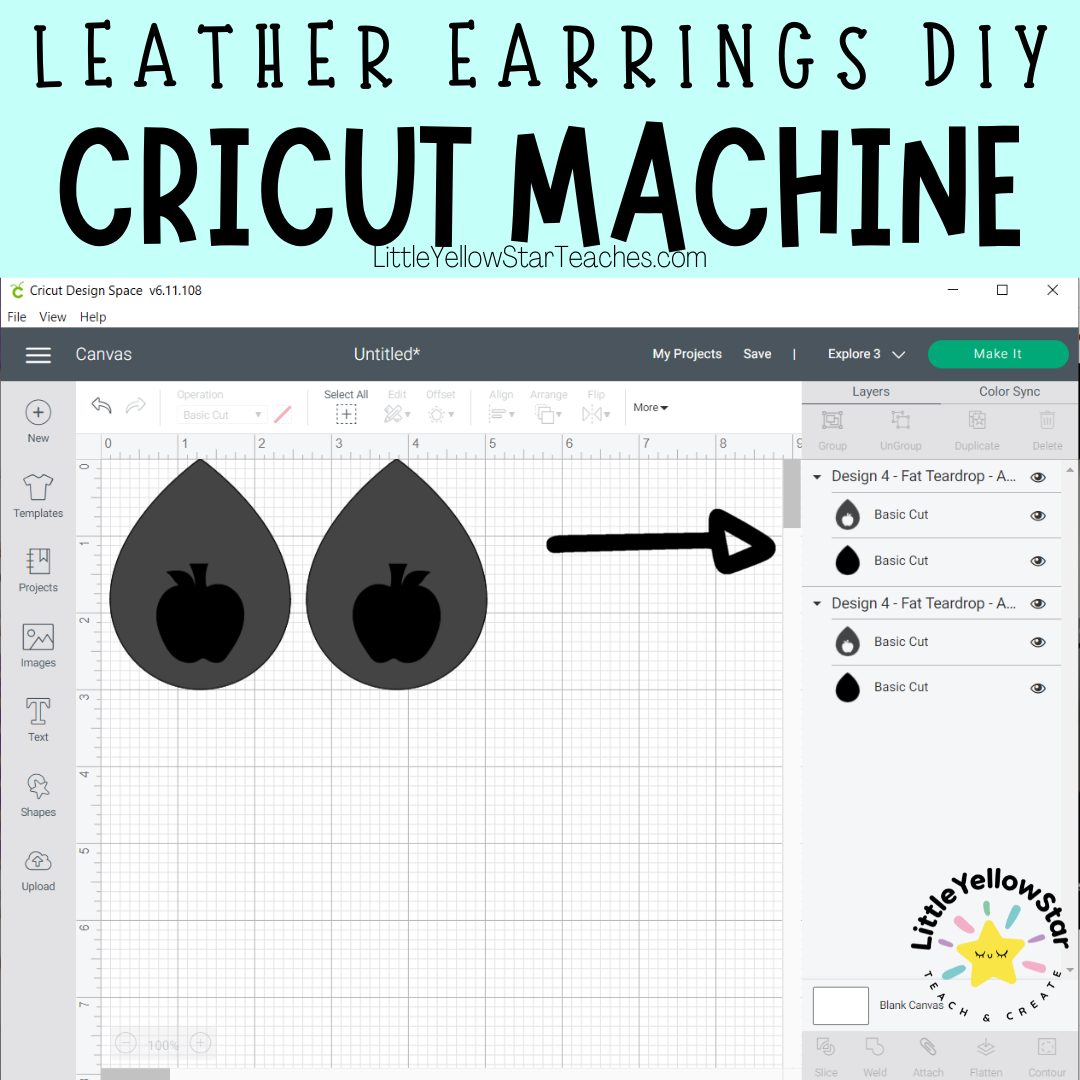
In this image here, you can see that my SVG files have already separated the layers out.
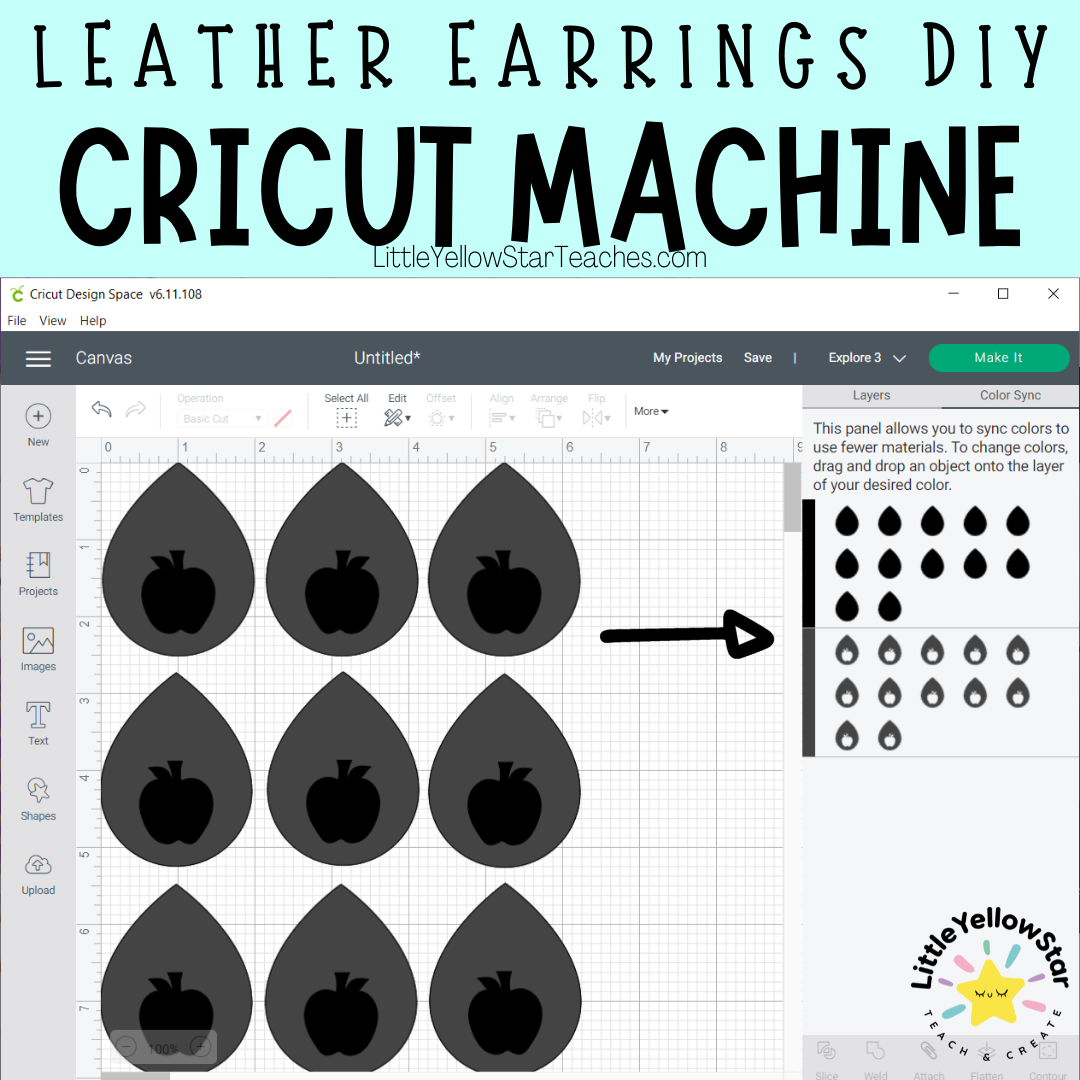
If you click on “Color Sync,” you can see that the layers are created by colors. Since the colors of my layers are already different, they automatically sync and will be cut together. You can do this manually, but simply selecting the image and changing its’ color to match the image you want to be cut together.
Now you are already ready to cut!
#2: Get your materials ready
So what do you need???
First off, You are going to need some Faux Leather Sheets, a Cricut Mat and Jewelry Findings.
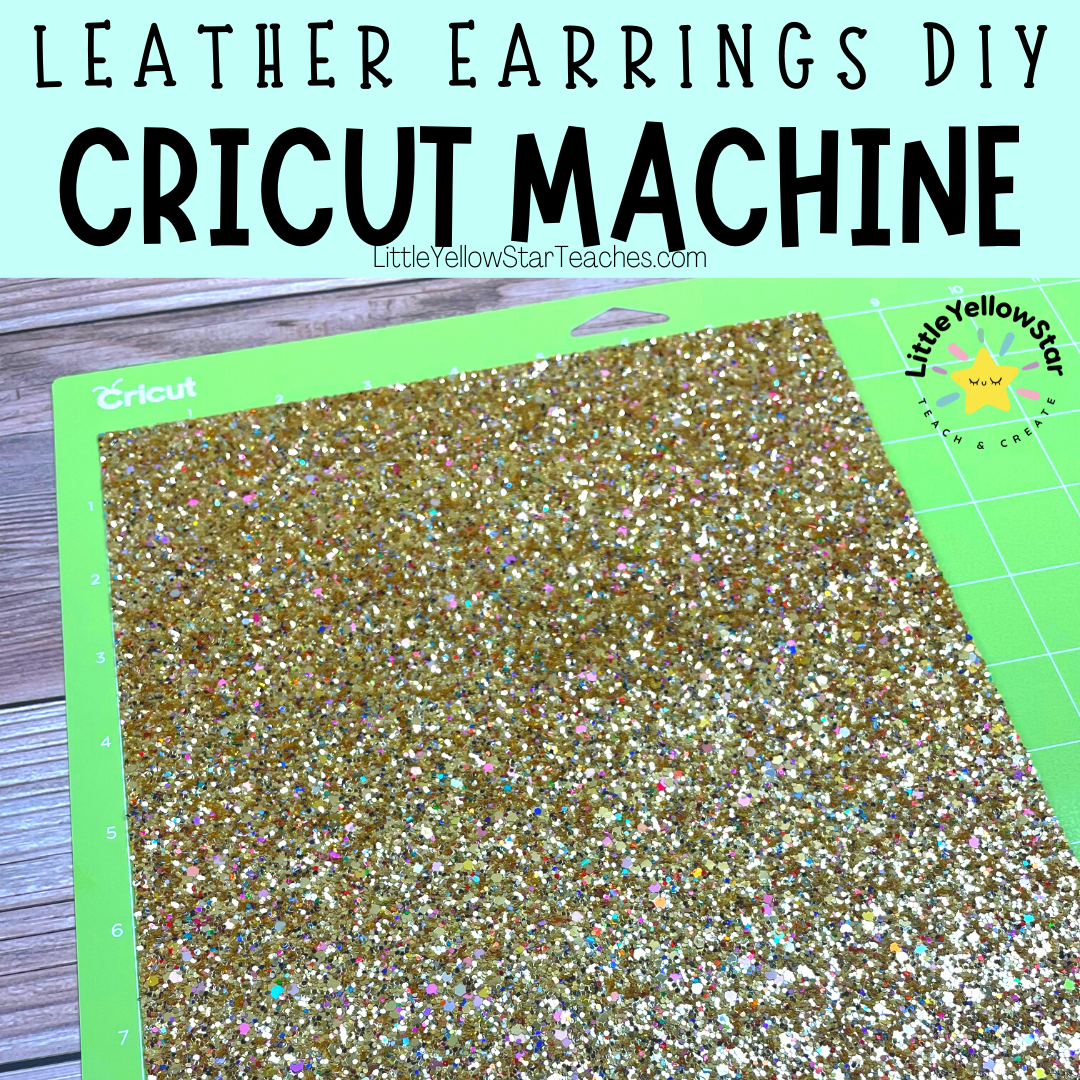
The Cricut Mat that works best for me is the Strong Grip mat. I used to use the Regular Grip mat but it depends on your leather sheets. Glitter sheets do quick well with Regular Grip. However, most leather sheets do better with Strong Grip mat (Purple).

Faux Leather for Cricut
If you are using the Faux Leather sheets for Cricut brand, then you are good to go. However, we all know how expensive that can get, plus there are not a lot of cute designs. Amazon and Etsy are your best sources but make sure you read the descriptions!
Here’s the thing, the faux leather sheets that you get from Amazon and Etsy will vary in backing material and thickness. You really have to work with different leather sheets individually. If the backing is fuzzy, you Strong Grip mat. If the sheet feels like foam, then you might be able to get away with using Regular Grip. Adjust your cutting setting accordingly as well!
These are some of my recommendations for where to get leather sheets:
These were the sets that I used for the earrings in this tutorial:
Chevron Pattern Leather Sheets
Be aware of Glitter Sheets! Glitter Sheets are the hardest to cut in my experience. You might need to sharpen your Cricut knife and follow up with scissors.

Now the Jewelry Part!
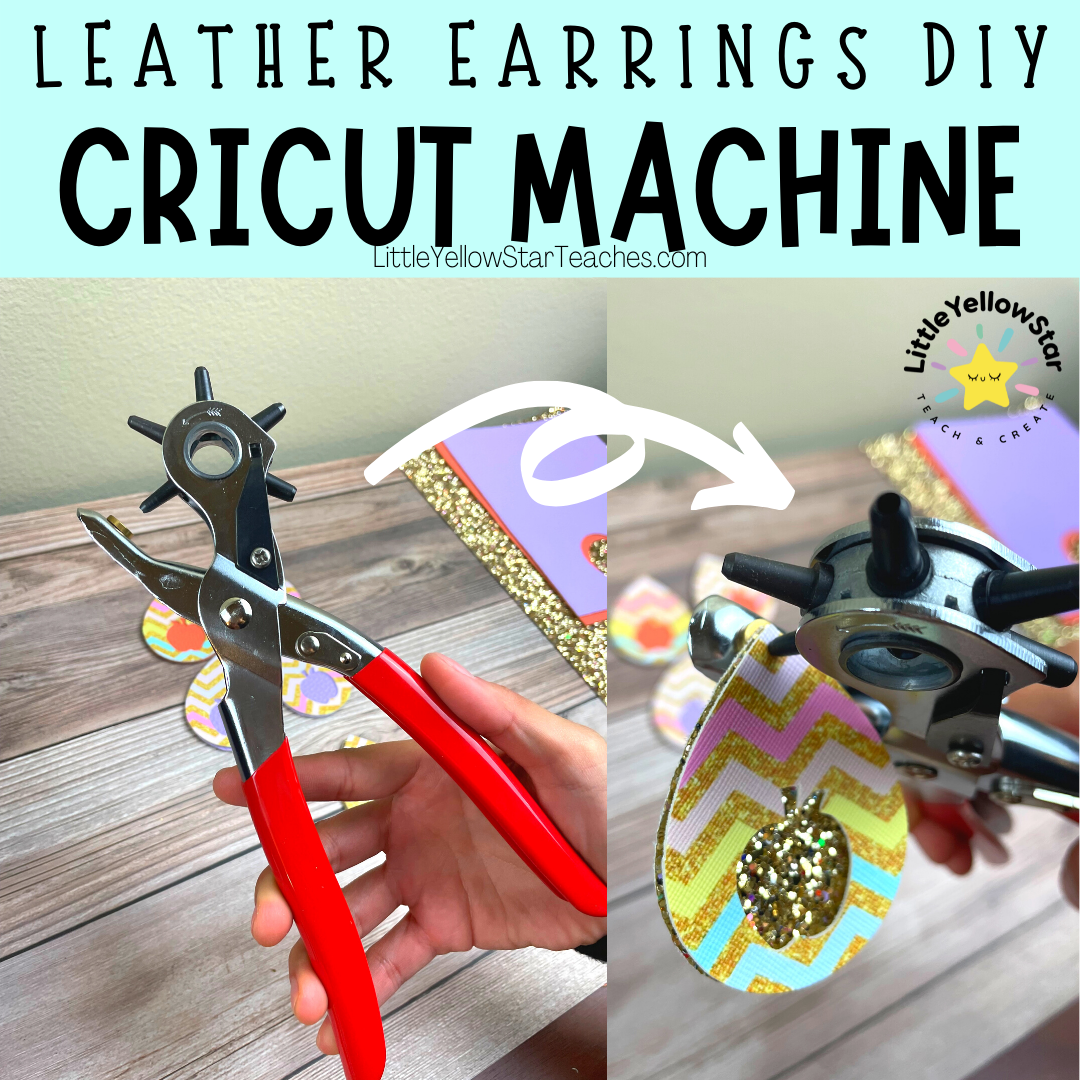
As I mentioned earlier, I find that the machine doesn’t do a good job at cutting out the holes on the leather piece. It’s a hit or miss for you, so I just do it myself afterwards.
I use this leather hole puncher tool that I got from Amazon. It’s about $9 and it works great! You can also use a sharp needle to poke through.
You need some jump rings, hook earring posts and a piler.
This is the earring making kit that I got from Amazon. This kit was perfect for me because I wanted to get different color earring findings in order to match the different faux leather design that I will be creating.
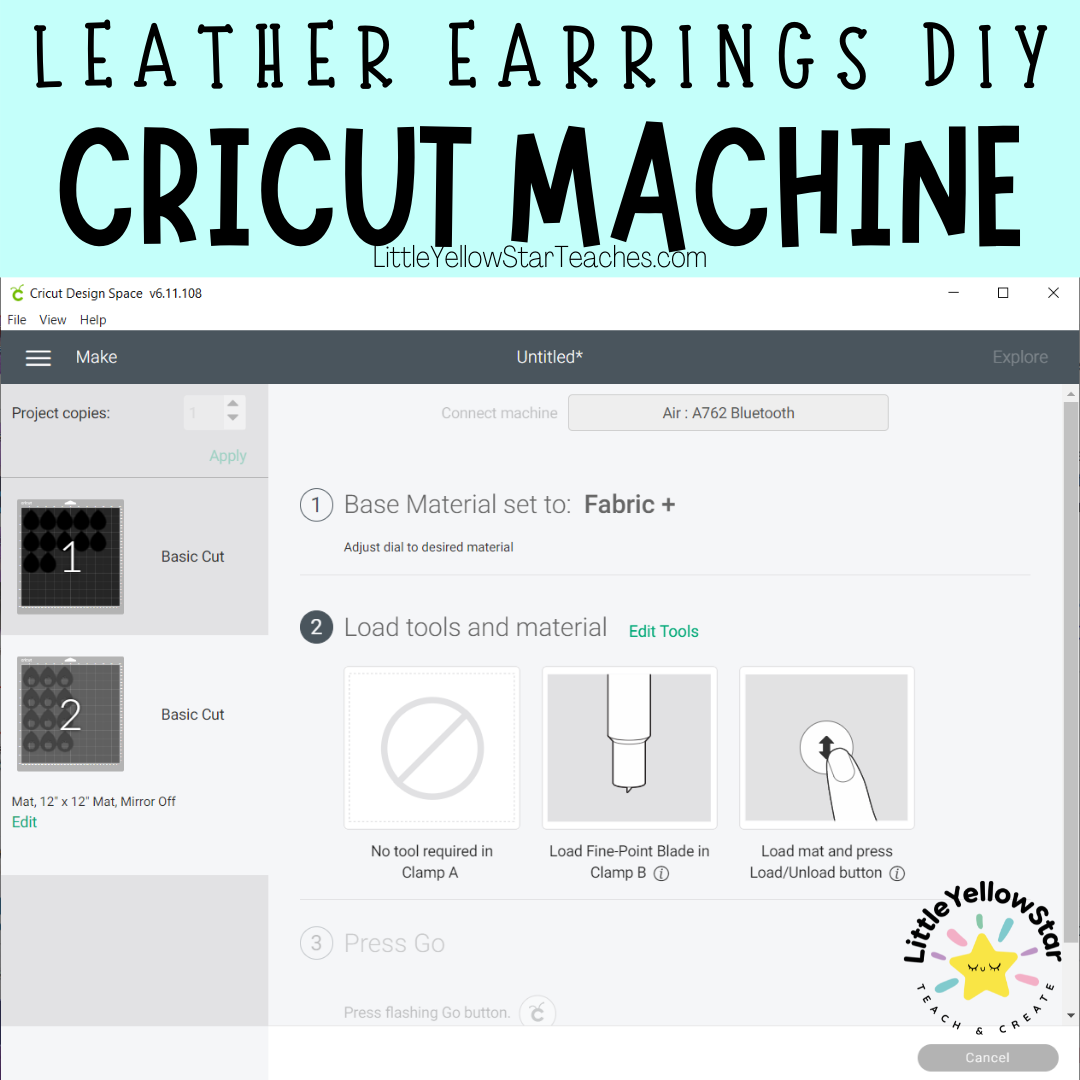
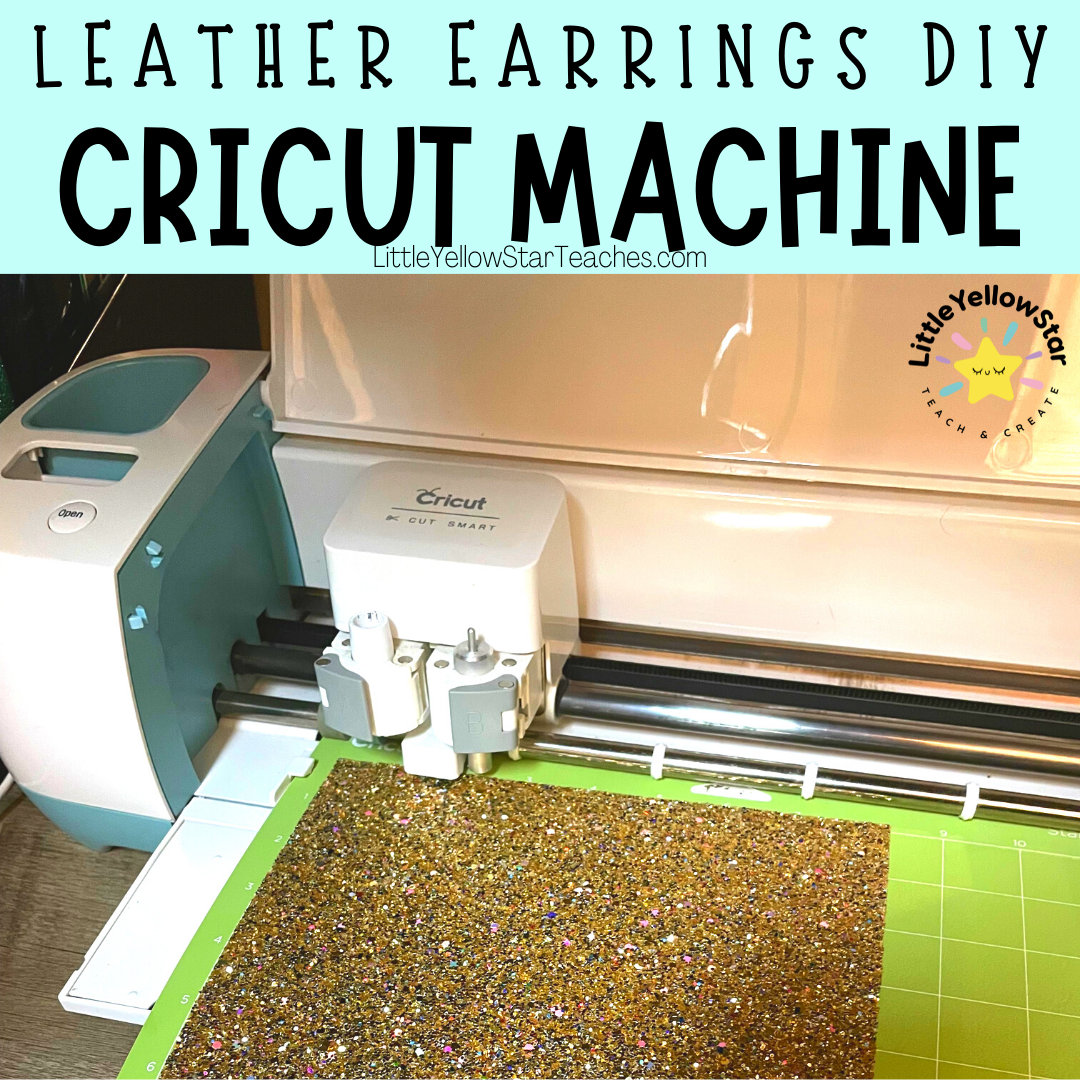
#3: Cut!
YAY!!!! Now, stick your Faux Leather on your Mat, load it up and click the C on your Machine!
To Note: Watch your machine! If this is the first time you are using this type of faux leather sheet and you are not sure how it will perform, watch it being cut! Stop any mistake if you see the leather starts to move around so you don’t waste anything.
Cut both layers and now you are ready to assemble.
#4: Assemble Your Earrings!
Layer up your earring pieces and make holes! If you got it precut then you are good to go, if not use a hole puncher or a needle to make holes.
I do both layers at the same time! Yes! This is to ensure that they will align nicely.
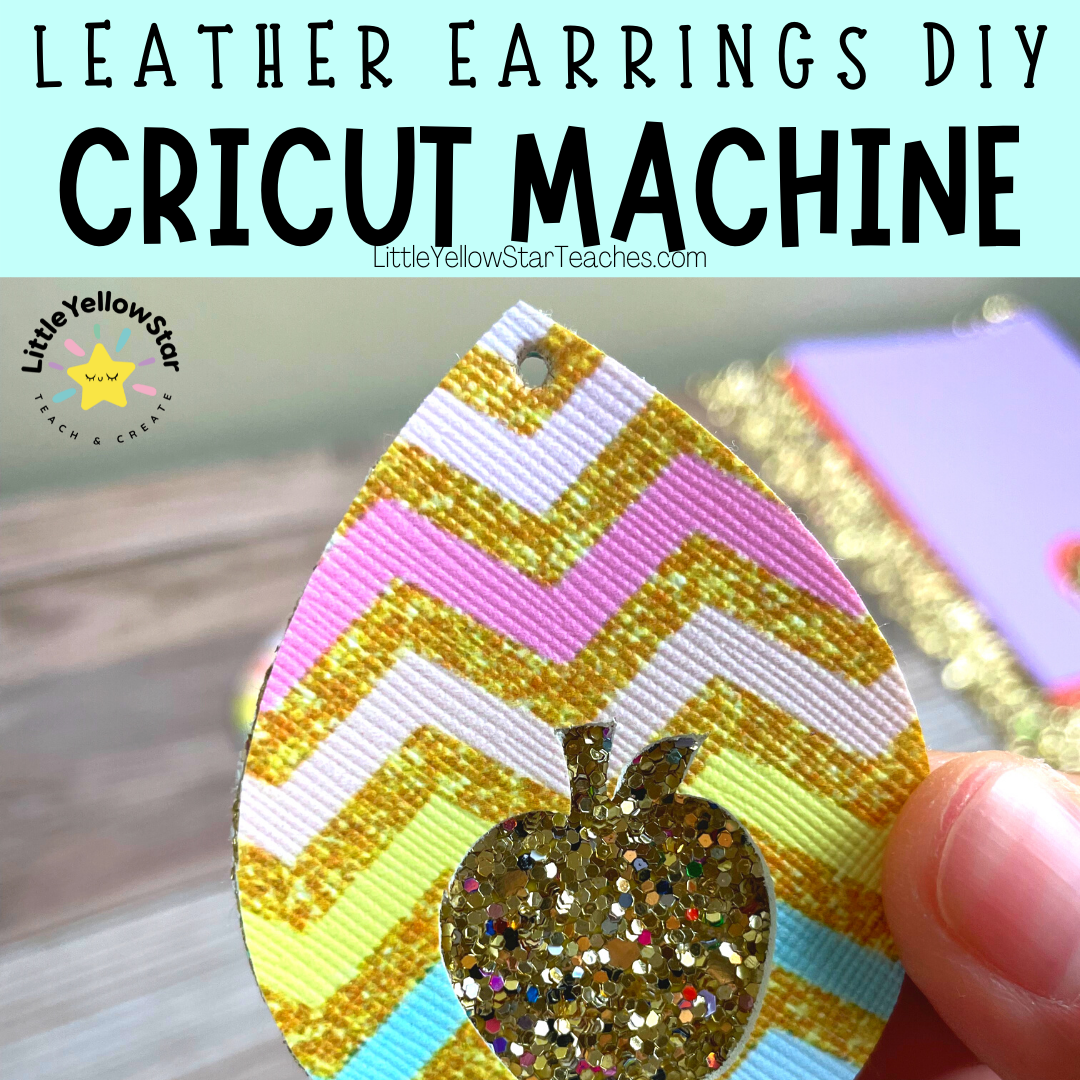
Look at that!
Alrighty, now it’s time to match your earring findings with your cut out faux leather earrings.

With a piler, open up the jump ring and put your pieces in the jump ring. Before you attach the earring post you need to adjust the bottom loop. If you don’t adjust it then your earrings won’t face front!
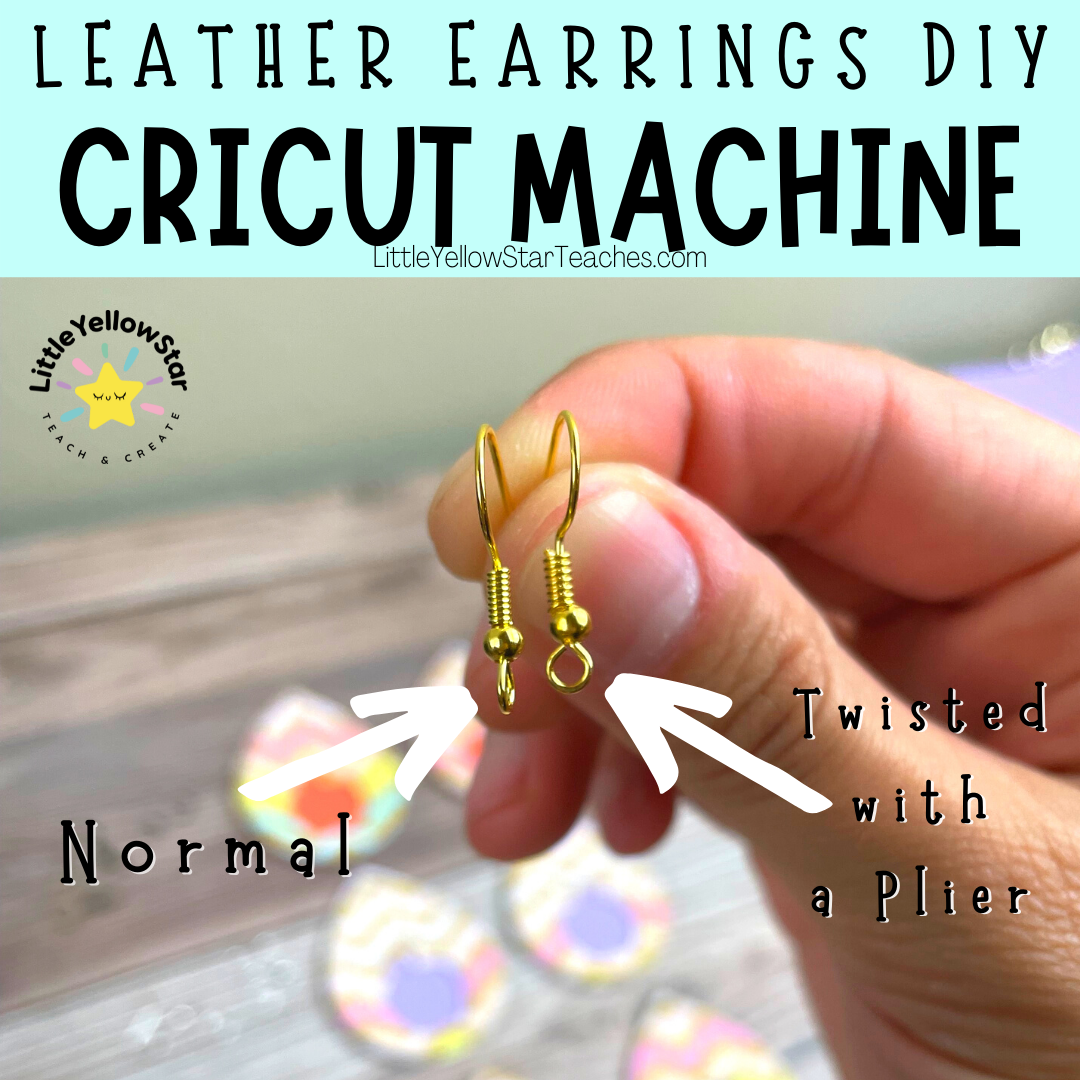
Use your piler and carefully twist the bottom loop of the earring post to about 90 degree from where it originally was or in other words perpendicular to where it was originally.
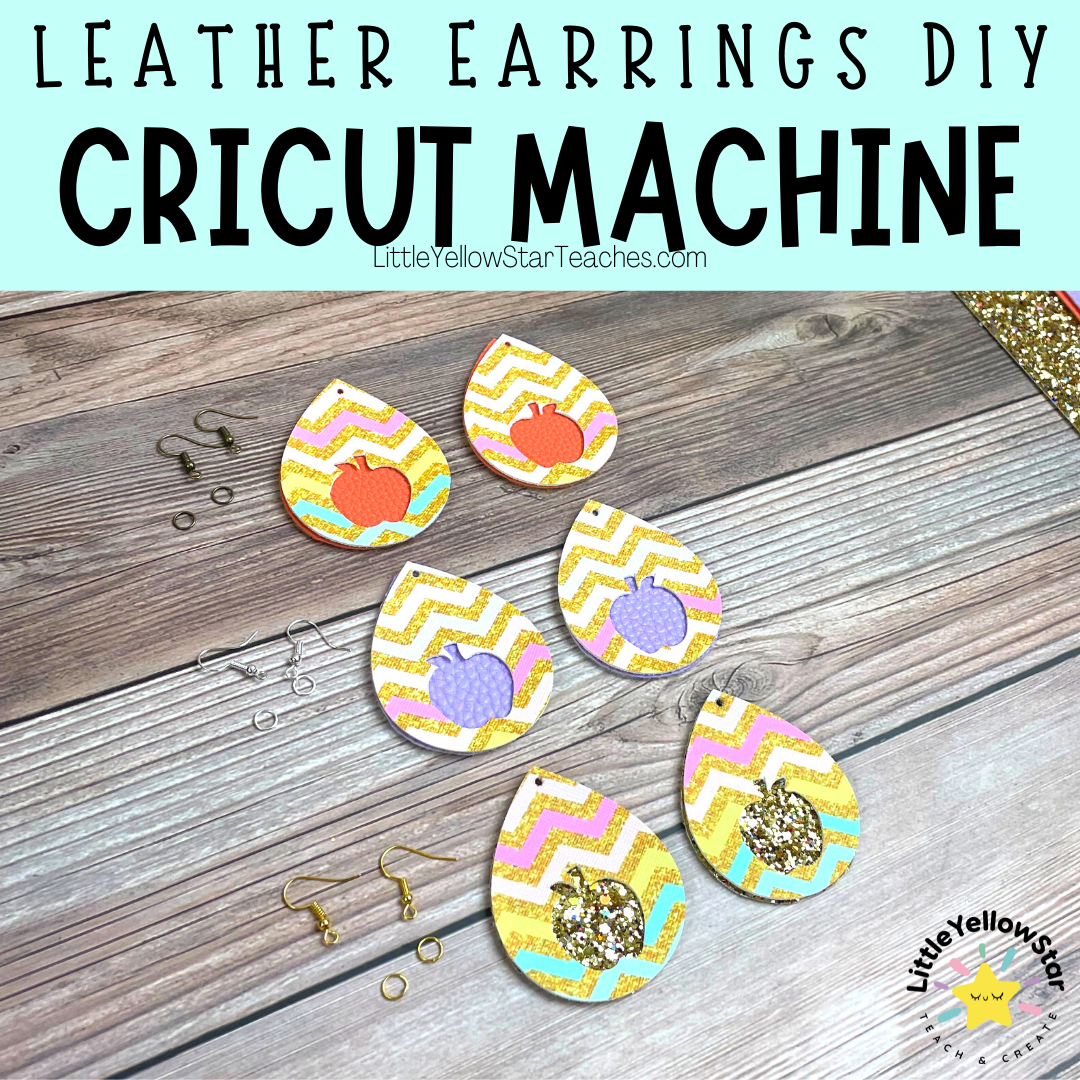
Now, add the earring post into the jump ring. Be sure it is facing the right way! Close the jump ring and you are done!
Do the same on another set and Viola!
You now have a pair of beautiful Handmade Faux Leather Earrings!

Don’t throw away your leather scraps! Here, I created another pair of earrings with the cut out apples. Aren’t they cute!!!

I hope that you have learned how to make your own Faux Leather Earrings with Cricut. If you are not ready to commit to getting a Cricut machine but you want to make your own earrings, check out this blog post:
I would love to see your creations! Tag me on Instagram (@Littleyellowstarcreates) or TikTok (@littleyellowstar)!
Comment down below if you have any questions or what design you are planning on making.
Are you a new teacher?
Check out 11 Classroom Essentials First Year Teacher Must Haves here!
Bye for now,
Prima from LittleYellowStar
* * *
Other Blog Posts That You Might Enjoy:
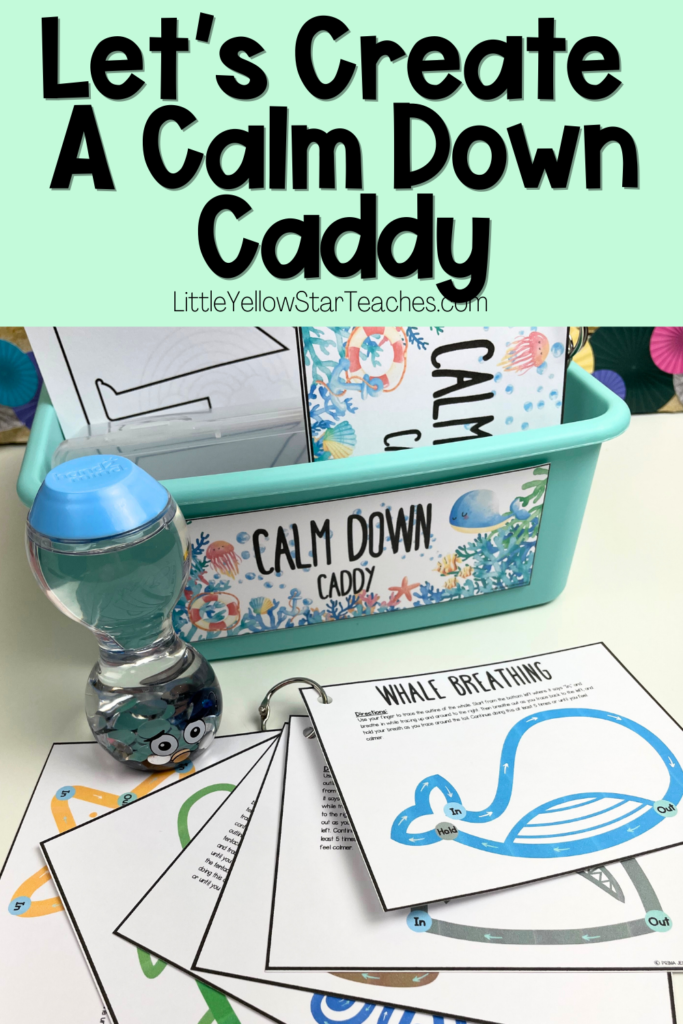
- How To Create A Calm Down Corner In The Classroom
- 11 Classroom Essential First Year Teacher Must Haves That Won’t Break The Bank
- Meaningful And Fun Back To School Activity: Create A Classroom Wreath!