***Disclosure: This post contains an Amazon affiliate link that at no additional cost to you, I may earn a small commission when you purchase through the link from my blog. Thank you for your support!
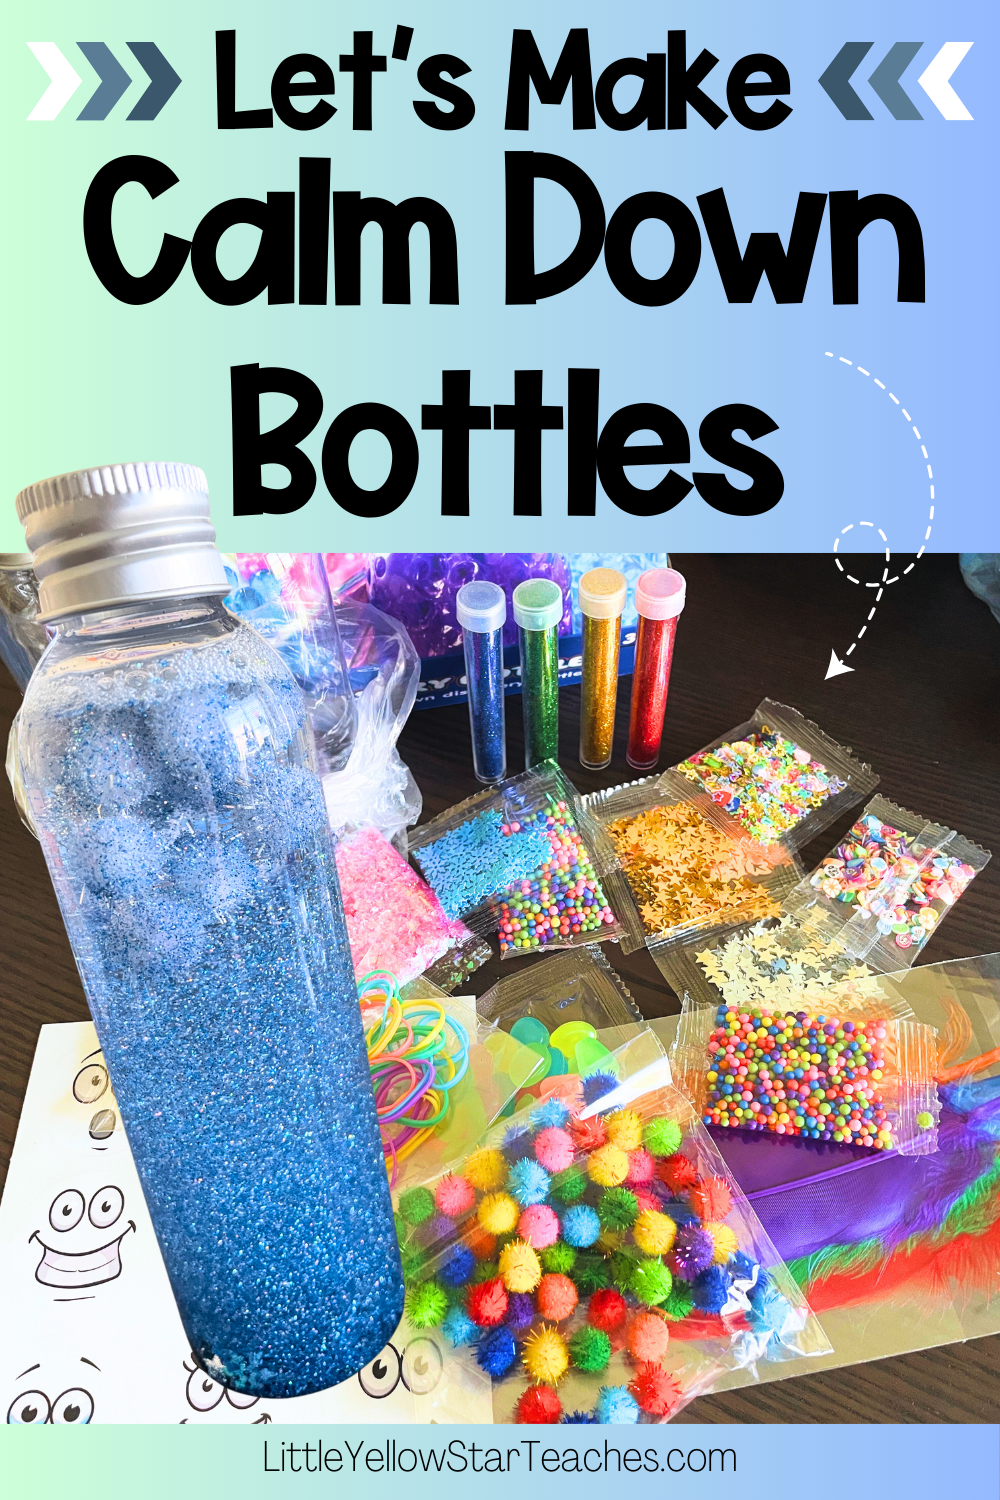
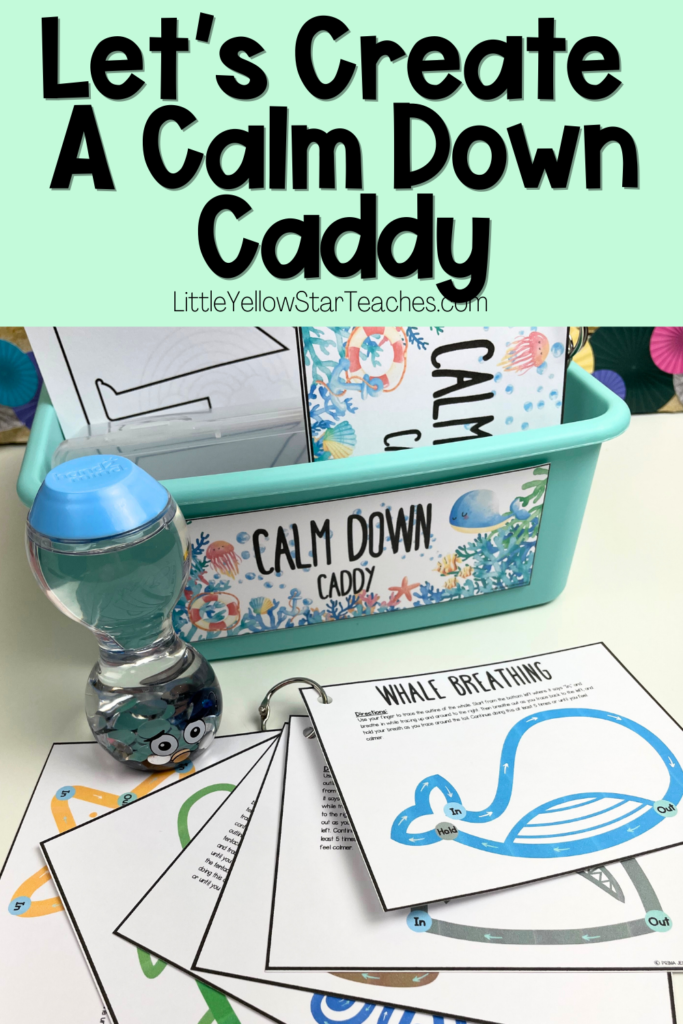
Calm Down Bottles, also known as Sensory Bottles, are a simple yet powerful tool for helping kids manage their emotions. They can be used in the classroom or at home, a perfect addition to your Calm Down Corner. Essentially, they’re perfect for any child who needs a calming, sensory experience.
The best part? There are so many fun and creative ways to make them! Whether you’re looking for something colorful, glittery, or themed, I’ve got some great ideas for you to try.
Also some tips and tricks to learn for you so you make the best version and don’t make the mistakes that I had made!

Why Make Calm Down Bottles
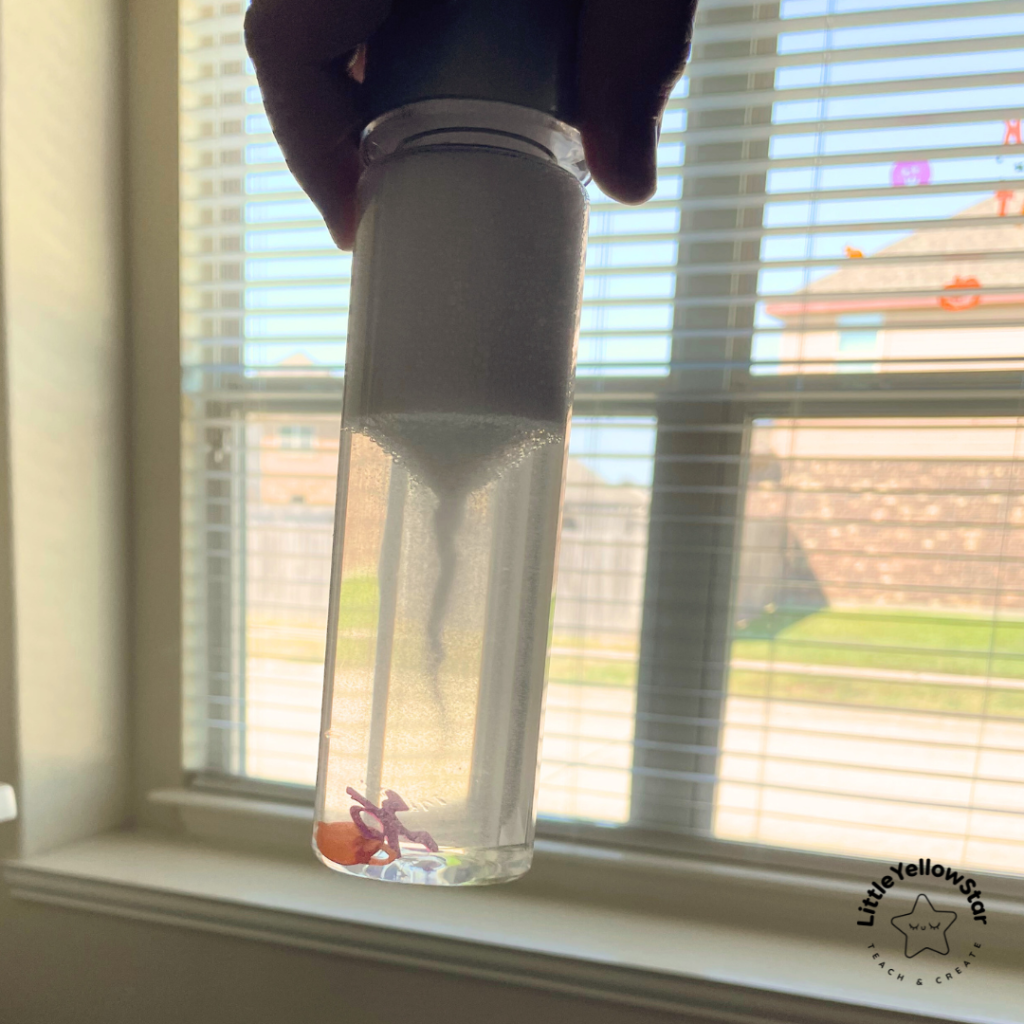
The Calm Down Bottle offers a soothing, visual way for students to focus their energy when they’re feeling upset or overwhelmed. Watching the glitter slowly settle helps engage their senses, giving them a mindful moment to breathe and relax. Because the materials move through water, the effect is smooth and calming, without the frustration of sticky glue or oily messes.
Important Tips For Making Calm Down Bottles
#1 Stay Clear from Oil
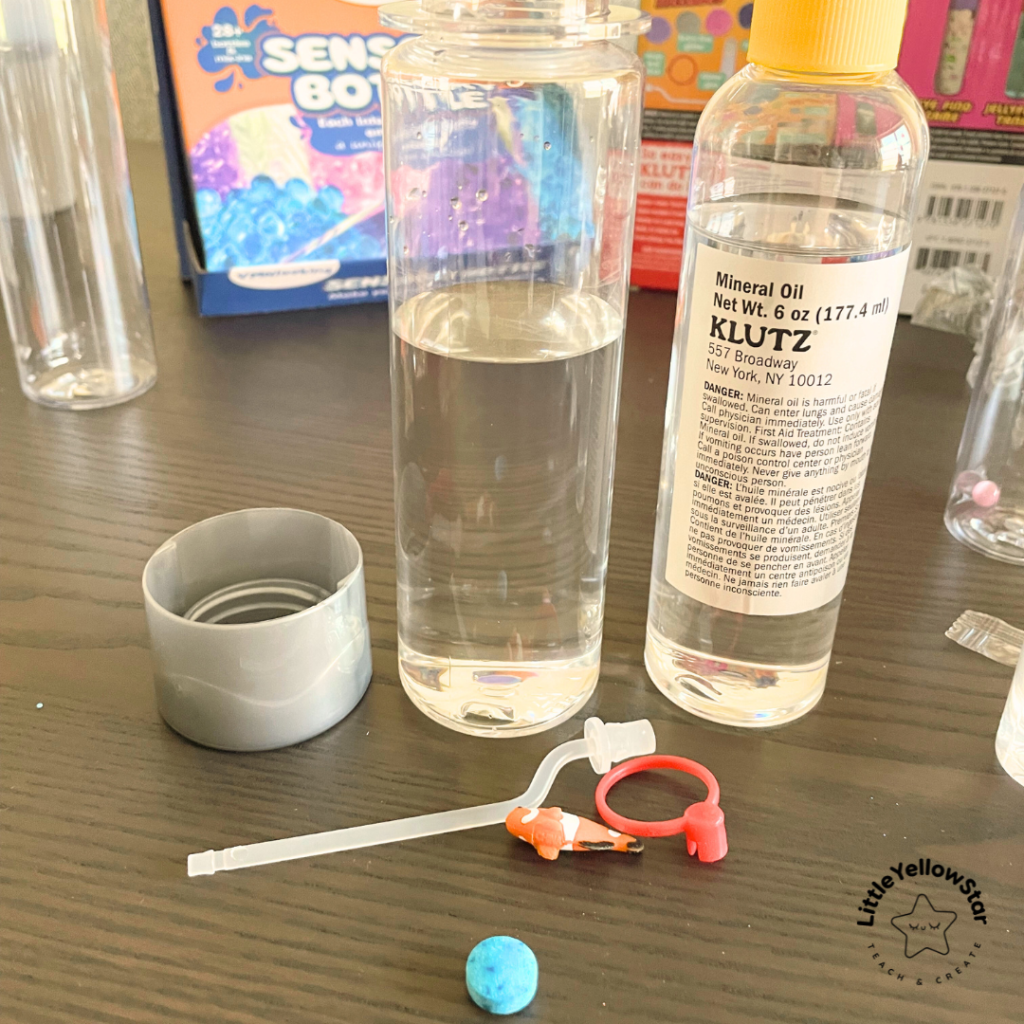
If you’re making a lava lamp-type Calm Down Bottle, oil works well—just use water, oil, and food coloring.
However, if you want to add anything else (like glitter or small objects), you’re likely to end up with clumps of glitter and elements in the bottle. It might look cool at first, but soon it won’t be as pleasant. Plus, oil can be super messy. It’s just not worth it!
#2 The Best Base: Water + Clear Elmer’s Glue
Many people online and in YouTube videos suggest using just water. However, I’ve found that a combination of three-fourths water and one-fourth clear Elmer’s glue works as the best base.
When it’s just water, the items you add to the Calm Down Bottle sink quickly. Adding clear glue slows things down, so the items float around longer, making the sensory bottle more fun to watch.
Tip: Leave the cap open for a while to let the air out. This will eliminate bubbles when shaking the bottle.
#3 Materials To Use
Honestly, the best material that looks the most mesmerizing is glitter. Adding small sequins, tiny objects, and toys can be fun too, but glitter is what makes it truly captivating.
Tip: If you add heavier objects like beads, consider adjusting your base to have more clear glue.
#4 Bottles
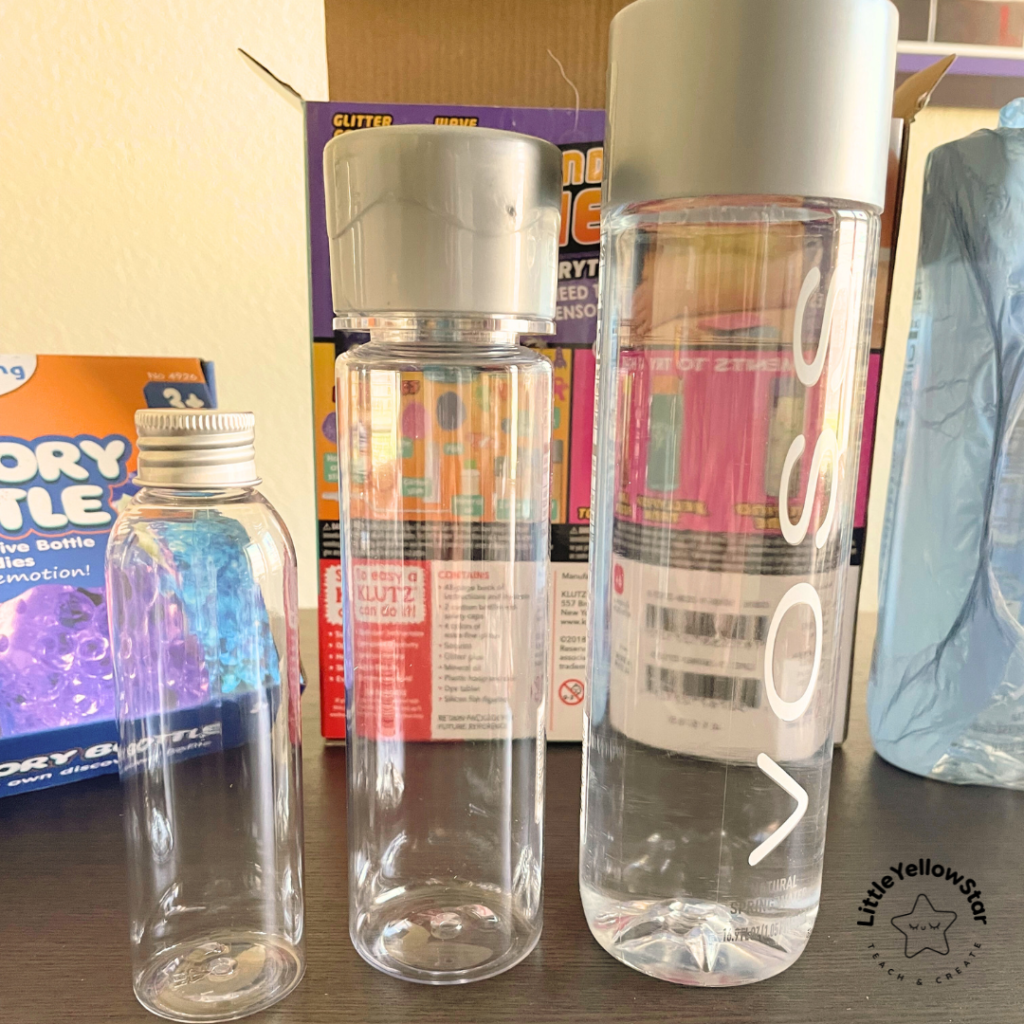
You can use any water bottle, but Voss water bottles have the best shape for this purpose, in my opinion. The only downside of using a water bottle is that you may need to peel off the label, and sometimes there’s glue residue left on the bottle.
After trying some Amazon kits and Voss bottles along with some items, I’ve found that it’s actually cheaper (especially if you don’t already have fun sensory objects lying around) to buy a kit from Amazon.
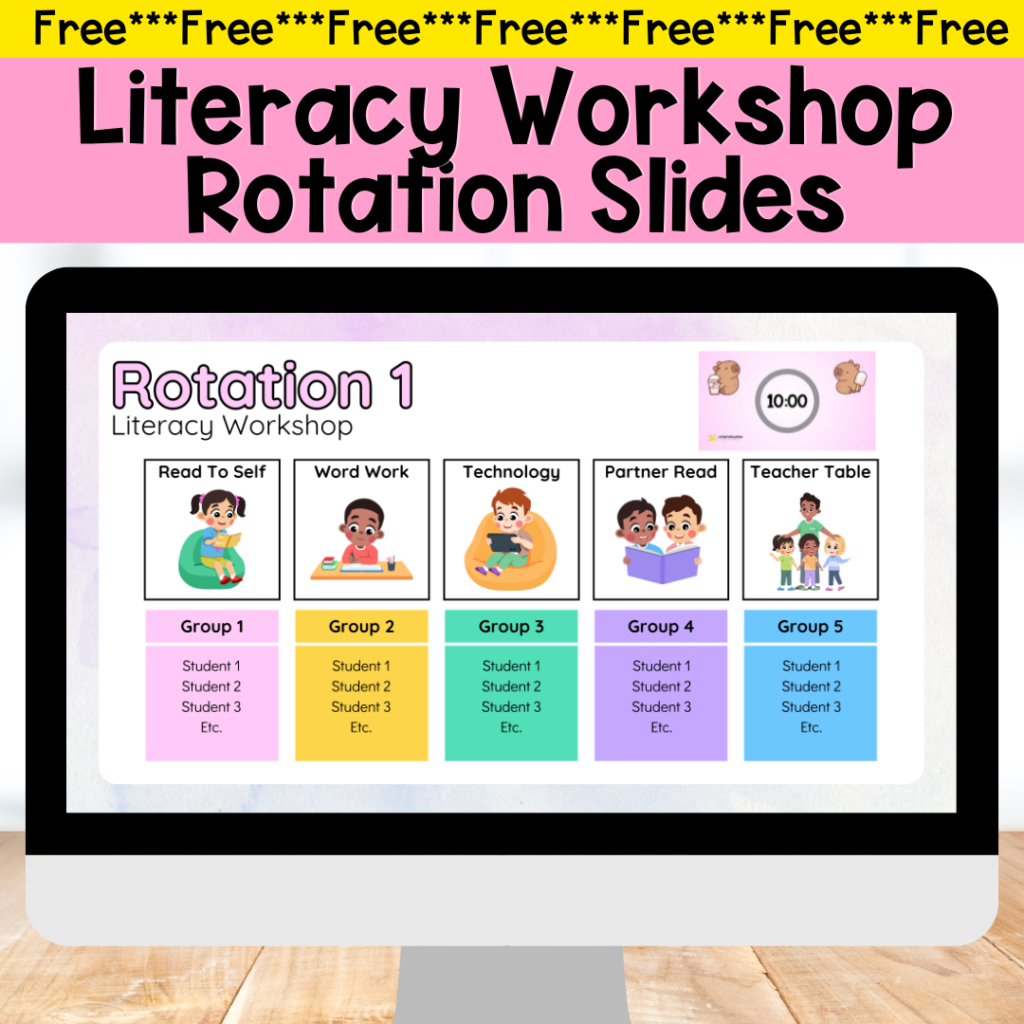
Grab these free resources to make your teaching life easier!

How to Make Calm Down Bottles
Materials
- A clear plastic bottle with a secure lid
- Water (¾)
- Clear Elmer’s Glue (¼)
- Glitter
- Optional:
- Food coloring
- Small beads or sequins
- Tiny toys or objects (think mini stars, animals, or alphabet letters)
- Hot glue gun or superglue
Step-by-Step Instructions
- Create the Base: Start by filling your clear bottle about three-fourth full with water. This is your base and one fourth clear glue. You can add more or less water/glue depending on how much room/speed you want for the materials to move. More glue makes the items float a little longer.
- If you’re using food coloring, add it at this step.
- Add Glitter: Next, pour in some glitter—this is the fun part! Add a few pinches, and feel free to use multiple colors for a magical effect. Fine glitter moves quickly, while chunky glitter slows down a bit more.
- Mixing colors like yellow and red creates a beautiful fall vibe!
- Customize with Beads and Objects: To make the bottle even more engaging, add small beads, sequins, or tiny objects like stars, buttons, or plastic shapes. These will move at different speeds and give students different textures to watch.
- If you’re adding heavier objects, consider adding more glue.
- Seal the Bottle: Once you’re happy with the contents, secure the lid tightly.
- If you’re doing this with small children, consider using hot glue or superglue around the edges of the lid to ensure it stays closed, especially if the bottle will be used frequently.
- Shake and Enjoy: Shake the bottle to watch the glitter swirl and float. The kids can hold it, shake it, and focus on watching the glitter settle, helping them to calm down and regulate their emotions.

The Amazon Kits I Recommend
If you already have glitter and small items lying around, feel free to skip this part. But if you don’t, it’s actually cheaper to buy a kit and get extra clear glue.
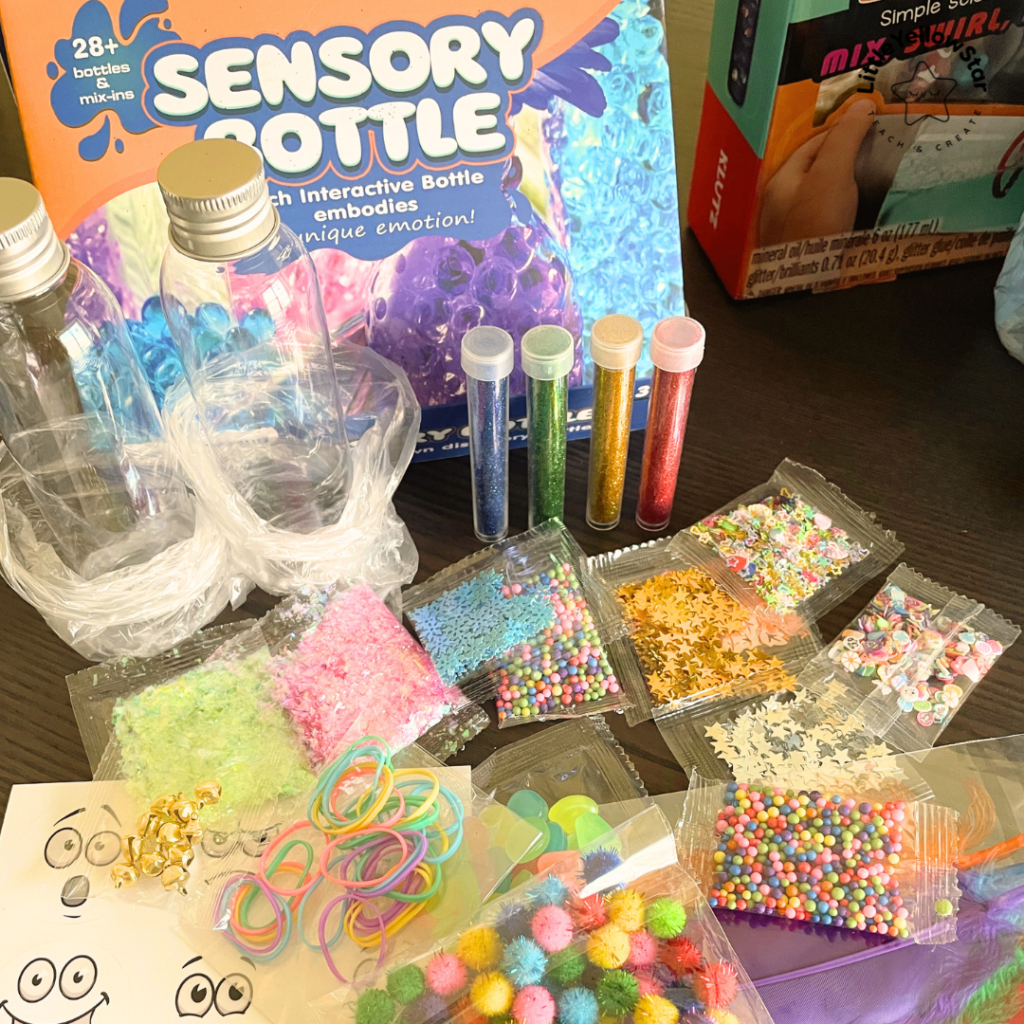
Kit Recommendation #1: Sensory Bottles Kits Supplies
If you are planning on making with many children – Classroom Activity – this is the kit to get, then just get more bottles.
This kit is great because it includes so many cute and cool things. You can definitely make more bottles with the leftover items. Plus, it offers a variety of objects so you can create multiple versions. Just remember, it doesn’t come with clear glue, so you’ll need to purchase that separately.
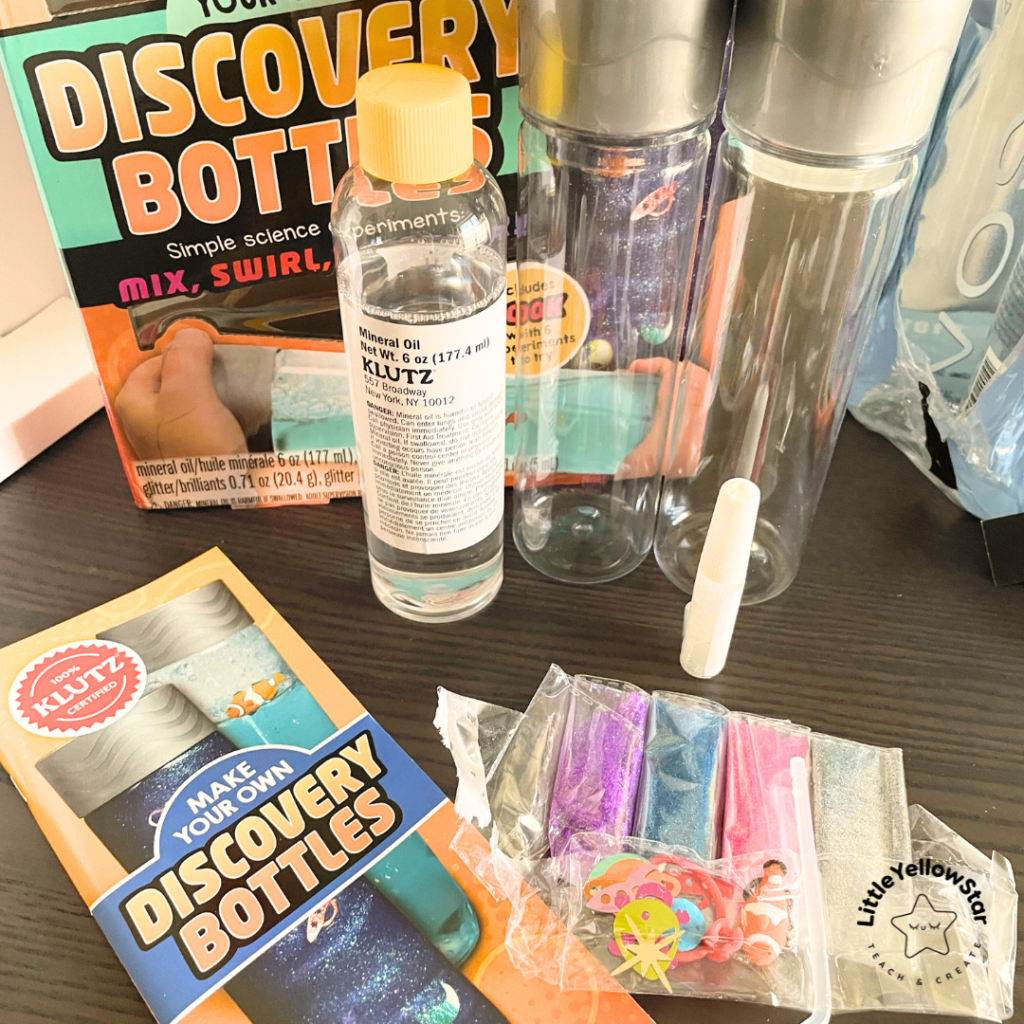
Kit Recommendation #2: KLUTZ Make Your Own Discovery Bottles
This kit is also pretty cool! While I recommend the first one, this one has some neat stuff too. The bottles are better quality, and it includes a fun fish hoop activity.
Customizing the Bottle for Your Classroom
If you’re working with students who need extra sensory input or calming strategies, this is a great activity to do together. Let students choose their own colors and objects to make the bottle personal—it’s a tool they’ll feel more connected to.
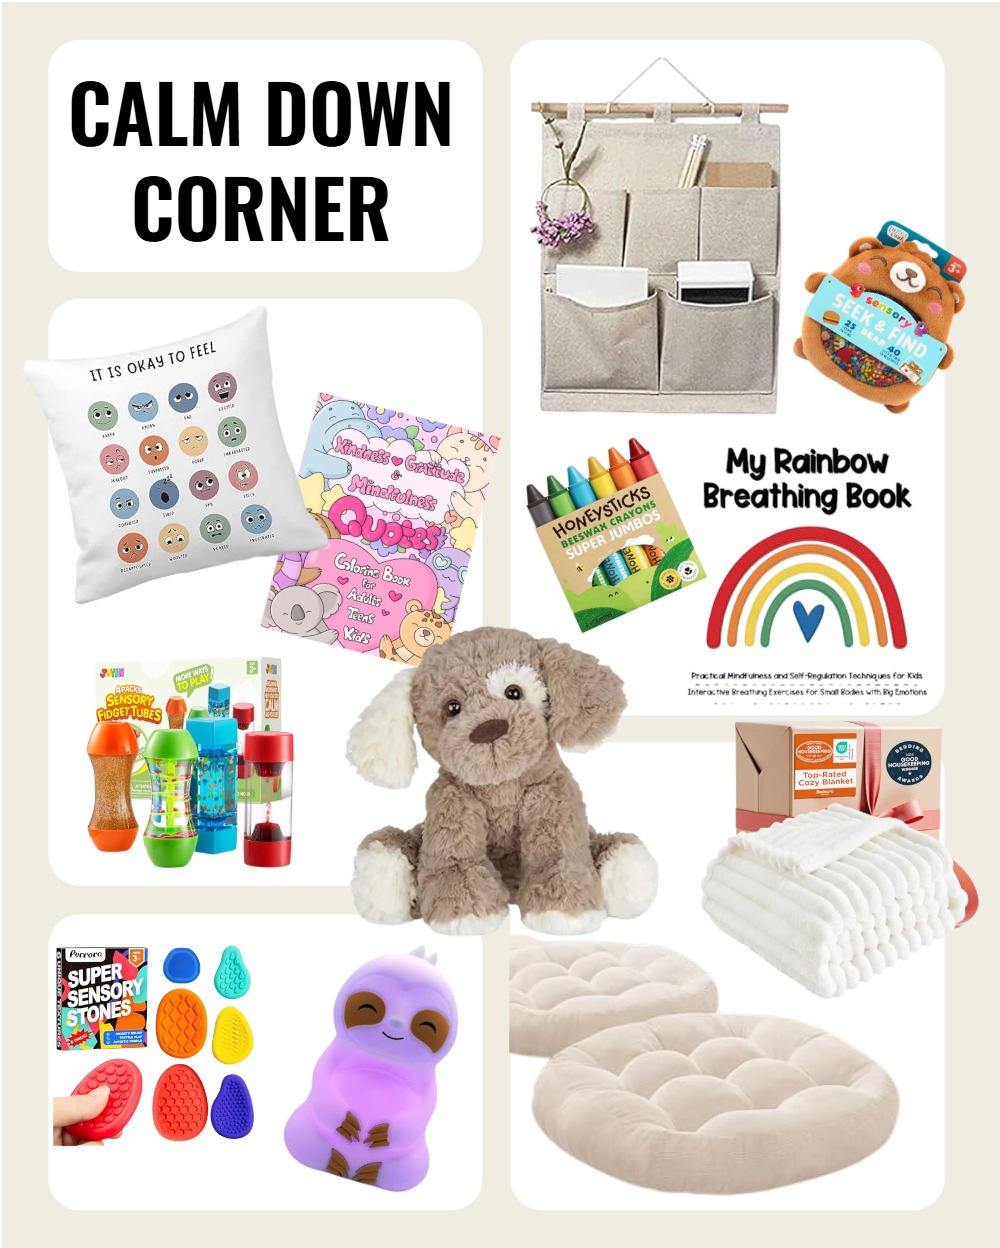
For counselors, these bottles can easily be made in bulk and handed out to students who may need them as part of a calm down kit. They’re light, mobile, and easy to tuck into a caddy, pencil case, or wall hanger (check out my other post on Calm Down Corner ideas for small spaces!).
Are You Making One?
Creating Calm Down Bottles is not only a fun, hands-on activity but also a powerful tool for helping kids manage their emotions in a calm, visual way. With so many creative options—from glitter-filled bottles to themed sensory experiences—there’s a Calm Down Bottle for every child’s needs. Whether you’re making them at home or in the classroom, these bottles can become a reliable tool for self-regulation and mindfulness. Plus, with the right materials and some thoughtful customization, they’re an affordable, engaging project that kids will love using again and again.
So, grab your supplies and start creating your very own Calm Down Bottles today—you might be surprised at how something so simple can make such a big difference!
Stay Calm!
Prima at LittleYellowStar
* * *

Other Blog Posts That You Might Enjoy:
- 15 Minutes Daily Social And Emotional Learning Activities For The Classroom (SEL Made Easy)
- How To Offer Growth Mindset Praise Effectively
- 3 Activities To Introduce Growth Mindset