***Disclosure: This post contains an Amazon affiliate link that at no additional cost to you, I may earn a small commission when you purchase through the link from my blog. Thank you for your support!
Traditionally, classrooms have been set up with rows of desks and chairs. This arrangement has been the standard for many years, but it is not always the best way for students to learn. In recent years, there has been a growing movement towards flexible seating in the classroom. Flexible seating is a type of classroom arrangement that allows students to choose where they want to sit. This can include traditional desks and chairs, as well as a variety of other options, such as beanbags, yoga balls, standing desks, and even pillows.
There are many benefits to using flexible seating in the classroom. One of the biggest benefits is that it can help students stay engaged and focused. When students are able to choose where they want to sit, they are more likely to find a spot that is comfortable and conducive to learning. This can help to reduce fidgeting and restlessness, which can lead to increased attention and focus. Check out this post to learn more about what Flexible Seating is.
Grab these free resources to make your teaching life easier!

Of course, there are also some challenges associated with using flexible seating in the classroom. One of the biggest challenges is that it can be more difficult to manage a classroom with flexible seating. When students have a variety of seating options to choose from, it can be more difficult to keep track of where they are and what they are doing. This can make it more challenging to maintain order and discipline in the classroom.
However, there are a number of things that teachers can do to make flexible seating work in their classrooms. By following these tips, teachers can create a flexible seating environment that is both effective and manageable.
As someone who has always implemented flexible seating in the classroom on small and large scales, I can tell you firsthand that it is worth it! Implementing flexible seating in the classroom also DOES NOT have to be hard. I’m here to share with you some of the tips and tricks that have helped me throughout the years.
By following these tips, you can create a flexible seating environment that is both effective and manageable! Let’s dive in!
What Flexible Seating Is And What It Is Not
Before we move into how to implement flexible seating successfully in the classroom, let’s first establish what flexible seating is and what it is not. I encourage you to do this exercise with your students as well when you introduce flexible seating. Make a T-Chart and go!
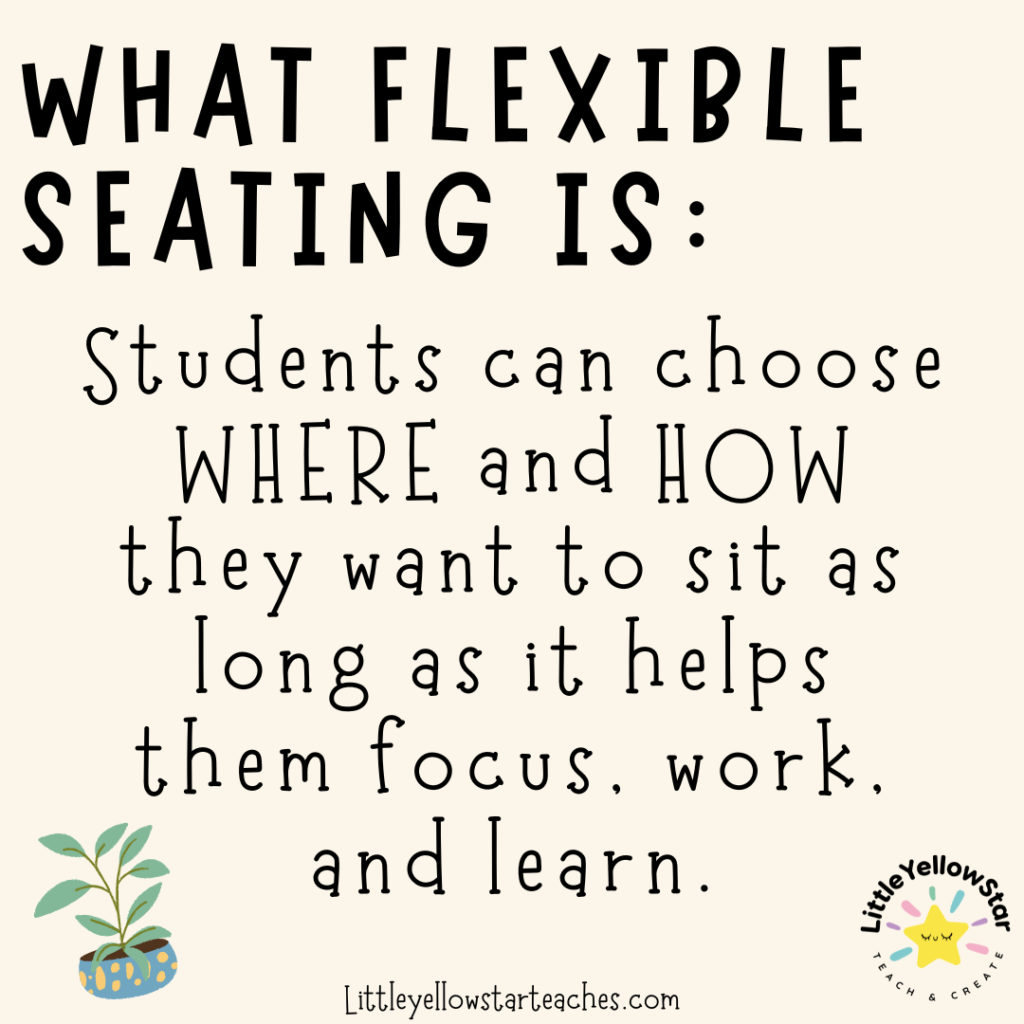
There are two main components to flexible seating:
- Students are allowed to choose WHERE they want to sit
- Students are allowed to choose HOW they want to sit
Wait there is one more thing to those two components.
Students can choose WHERE and HOW they want to sit if it meets the most important expectation: It allows them to focus, work, and learn.
Flexible seating is not a free-for-all, sit where you want, how you want, and do whatever you want. Flexible seating is not lying down and taking naps. Flexible seating is not sitting next to your friend so that you can have a party. No.
Flexible seating is sitting on the floor because sitting on a chair makes reading uncomfortable. Flexible seating is standing because you need to move in order to stay focused. That is what flexible seating is.

How To Implement Flexible Seating
#1 Assess Your Space
The first step in implementing flexible seating is to evaluate your classroom space. Take a look at the size and layout of the room and consider how you can maximize the available space to accommodate different seating options. Determine how many students will be in your class and estimate the number of seats you will need. Remember to leave enough room for students to move around comfortably.
#2 Choose Your Seating Options
- Select Suitable Seating Options: Once you have assessed your space, it’s time to select the seating options that will work best for your classroom. You can use traditional classroom furniture, repurposed items, or even items you find at thrift stores or garage sales. Think about how each seating option can support different learning styles, such as active seating for kinesthetic learners and cozy nooks for visual learners.
- Prioritize Function over Aesthetics: Your classroom doesn’t need to be a Pinterest masterpiece! Many pretty classrooms may not be as functional. It’s more important that your seating options enhance learning rather than just looking good.
- Keep It Budget-friendly: No need to stress over costly options. Comfort and affordability should be your mantra. It’s not about how much you spend, but how effectively you use your resources. Check out my post on A Teacher’s Guide to Flexible Seating on a Budget for more information.
- Retain Traditional Desks: Despite not being the trendiest, traditional desks still have their place. Some students may prefer them or feel overwhelmed with too many new options. It’s okay to maintain a blend of old and new.
- Seek Support: Don’t forget to reach out to your school district, your school, or even your local community for donations. Schools often store surplus furniture; you might find some useful items there!
#3 Set Guidelines and Expectations
- Begin with a Discussion: Start by talking to your students about flexible seating. Explain its purpose and how it can enhance their learning experience.
- Define Your Comfort Zone: As a teacher, think about what you’re comfortable with, as you’ll be the one enforcing boundaries and consequences. For instance, if there are areas in the classroom you don’t want students to access, include that in your guidelines.
- Educate About Flexible Seating: Use tools like Anchor Charts or T-Charts and walk students through various scenarios. This will help them understand what flexible seating is, and more importantly, what it is not.
- Set Clear Consequences: Discuss what happens if guidelines and expectations are not met. Involving students in this conversation encourages them to take ownership and responsibility, ensuring no surprises.
- Example of a Rule System: Share examples of successful rule systems implemented previously. For instance, a 3-strike rule can be effective – if a student makes wrong seating choices (choices that are distracting or hinder learning), they receive a strike. Three strikes lead to teacher-led seating choices for a week, followed by a fresh start.
- Questions to Consider for Guidelines/Expectations:
- When can students choose their seating option?
- What should they do when they want to change seating options or locations?
- How should they behave during Teacher Time?
- How should they behave during Independent Learning time?
- What are the consequences of making the wrong choices?
- What signs indicate they’re making the wrong choice?

#4 START SMALL
- Start Small: Whether you’re beginning the school year with flexible seating or introducing it mid-year, don’t overhaul your entire classroom at once. Introduce changes gradually. Here are 11 Cheap Flexible Seating Options for you to consider.
- One or Two Options at a Time: Begin by introducing a couple of flexible seating options and observe your students’ reactions. Their excitement may initially lead to some chaos, but with time, they will adjust. Based on your assessment of their response, you can then add more seating options as needed.
- Specify a Time/Period for Flexible Seating: Set a specific timeframe for flexible seating, such as during independent reading or other independent work. This strategy gives students the chance to decide what works best for them and enables you as a teacher to provide guidance to students who need help making the best choices. You can increase the flexible seating time once students get the hang of it. If you’re only comfortable with flexible seating during certain times, that’s okay too.
- Assign Students to Seating Options: Rotate students through various seating areas by assigning them to specific options. For example, group one uses the bouncy balls on Monday, group two uses the standing desk, and so on. However, always allow students the option to return to traditional desks if they are uncomfortable with the flexible seating option they’ve been assigned for the day.
#5 Be Flexible.
Be prepare that flexible seating might not look like what you’ve imagine. Things won’t always go according to plan, so be prepared to be flexible. It is not the end of the world if Timmy fell off the bouncy ball in the middle of your lesson. Just simple help Timmy up, checks if he’s okay, ask if he needs a regular chair, and go back to your lesson. It’s okay if Annie doesn’t want to sit on the floor and prefers a traditional desk. If a seating option isn’t working for a student, allow them to try something else. The objective is to ensure that the seating arrangements are returned to their place, even if not perfectly.
#6 Reflect and Adjust
After observing how your students respond to flexible seating, reflect on what worked and what didn’t. Depending on your observations, you might need to make adjustments, like removing certain seating options or adding new ones. Remember, each class is unique, and what works for one might not work for another. For example, seating cushions might be popular in one class but cause distraction in another. If a seating option isn’t working, you can simply store it for a future class. Seek feedback from your students on improving the seating arrangements and the learning environment, as they might provide insights that you hadn’t considered.

Additional Tips for Implementing Flexible Seating
If you still don’t feel comfortable with turning your entire classroom into a flexible seating classroom, you don’t have to. There were classes (especially during the pandemic) that I taught where I had to change my mindset of what flexible seating is and get creative to give my students options without sacrificing my sanity.
Instead of doing an entire classroom, you can also just dedicate different areas in the classroom as an alternative section options area. For example:
- Cozy Corners: These inviting nooks provide a comfortable and quiet space for independent reading, reflection, or individual tasks. Soft chairs, floor cushions, and reading rugs can transform a corner into a cozy haven.
- Collaborative Square: A square section in the classroom where students can sit or lay on the ground to discuss and work together.

Are You Implementing Flexible Seating This Year?
In conclusion, flexible seating is a progressive approach to classroom arrangements that has the potential to enhance student engagement, concentration, and creativity. Shifting away from traditional rows of desks, flexible seating invites student autonomy, offering them a choice in where and how they sit to learn effectively. This choice, however, comes with responsibility, as it’s not a free-for-all, and students are expected to make choices that facilitate their focus, work, and learning.
Implementing flexible seating effectively requires careful consideration of your classroom space, the selection of suitable seating options that cater to different learning styles, and the establishment of clear guidelines and expectations. Starting small and gradually introducing more options can ease the transition and ensure the seating arrangements enhance rather than disrupt the learning environment. Be prepared for flexibility and adaptation to unexpected situations, as not everything might go according to plan.
Furthermore, reflection and adjustment are key to the success of this approach. Based on observations and student feedback, you can modify the seating options, keeping in mind that what works for one class might not work for another. It’s also worth noting that flexible seating need not be implemented across the whole classroom. Designating alternative sections for specific purposes like ‘Cozy Corners’ for individual tasks and ‘Collaborative Squares’ for group work, can offer flexibility without overwhelming students or teachers.
In essence, the beauty of flexible seating lies in its adaptability and its focus on student comfort and learning preferences. With patience, flexibility, and a clear understanding of its principles, teachers can transform their classrooms into dynamic, student-centered learning environments that foster productivity, engagement, and creativity.
Bye for now,
Prima from LittleYellowStar
* * *
Other Blog Posts That You Might Enjoy:
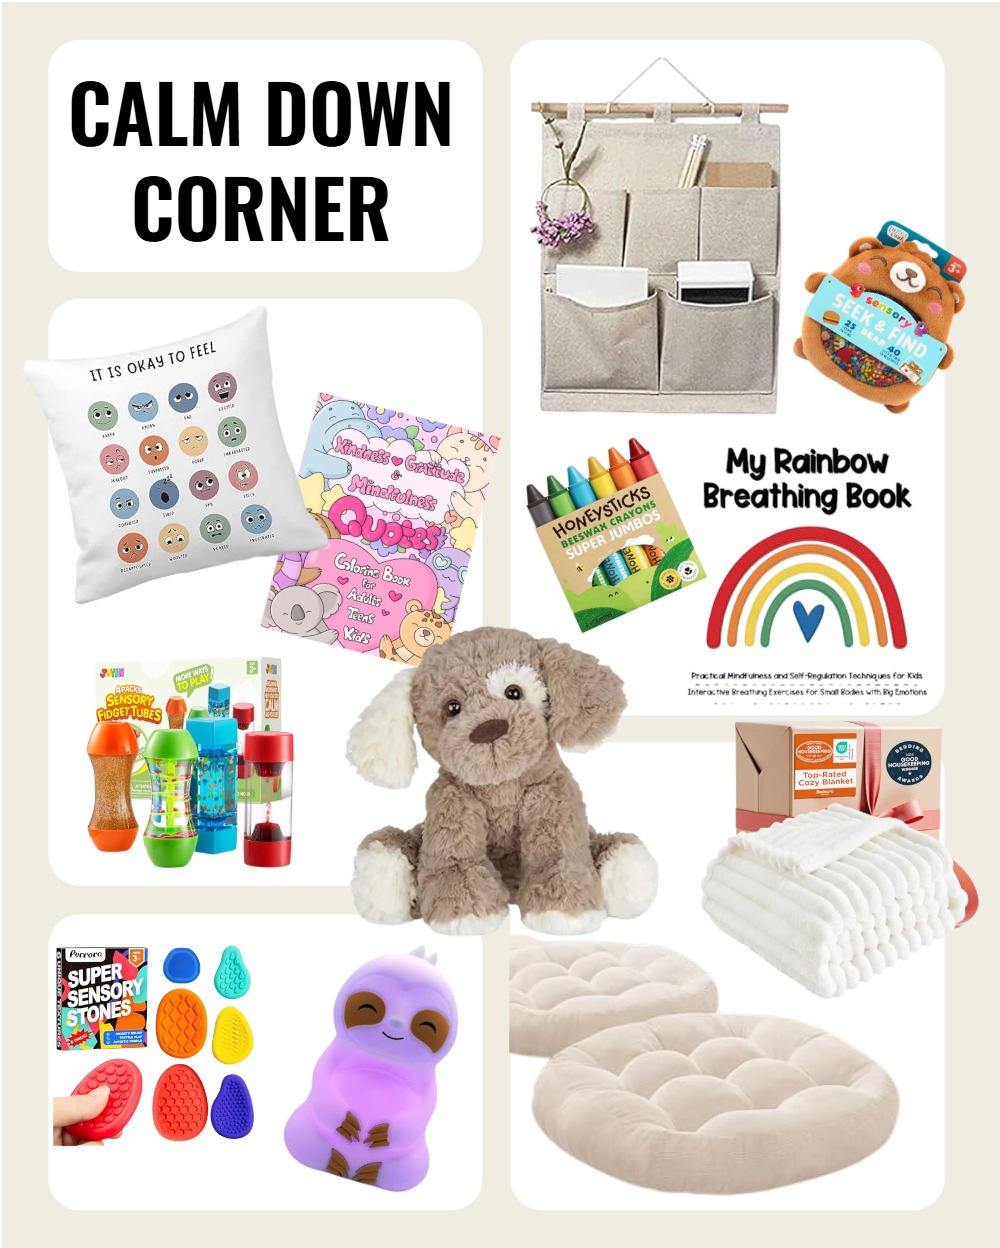
- How To Create A Calm Down Corner In The Classroom
- 11 Classroom Essential First Year Teacher Must Haves That Won’t Break The Bank
- Meaningful And Fun Back To School Activity: Create A Classroom Wreath!